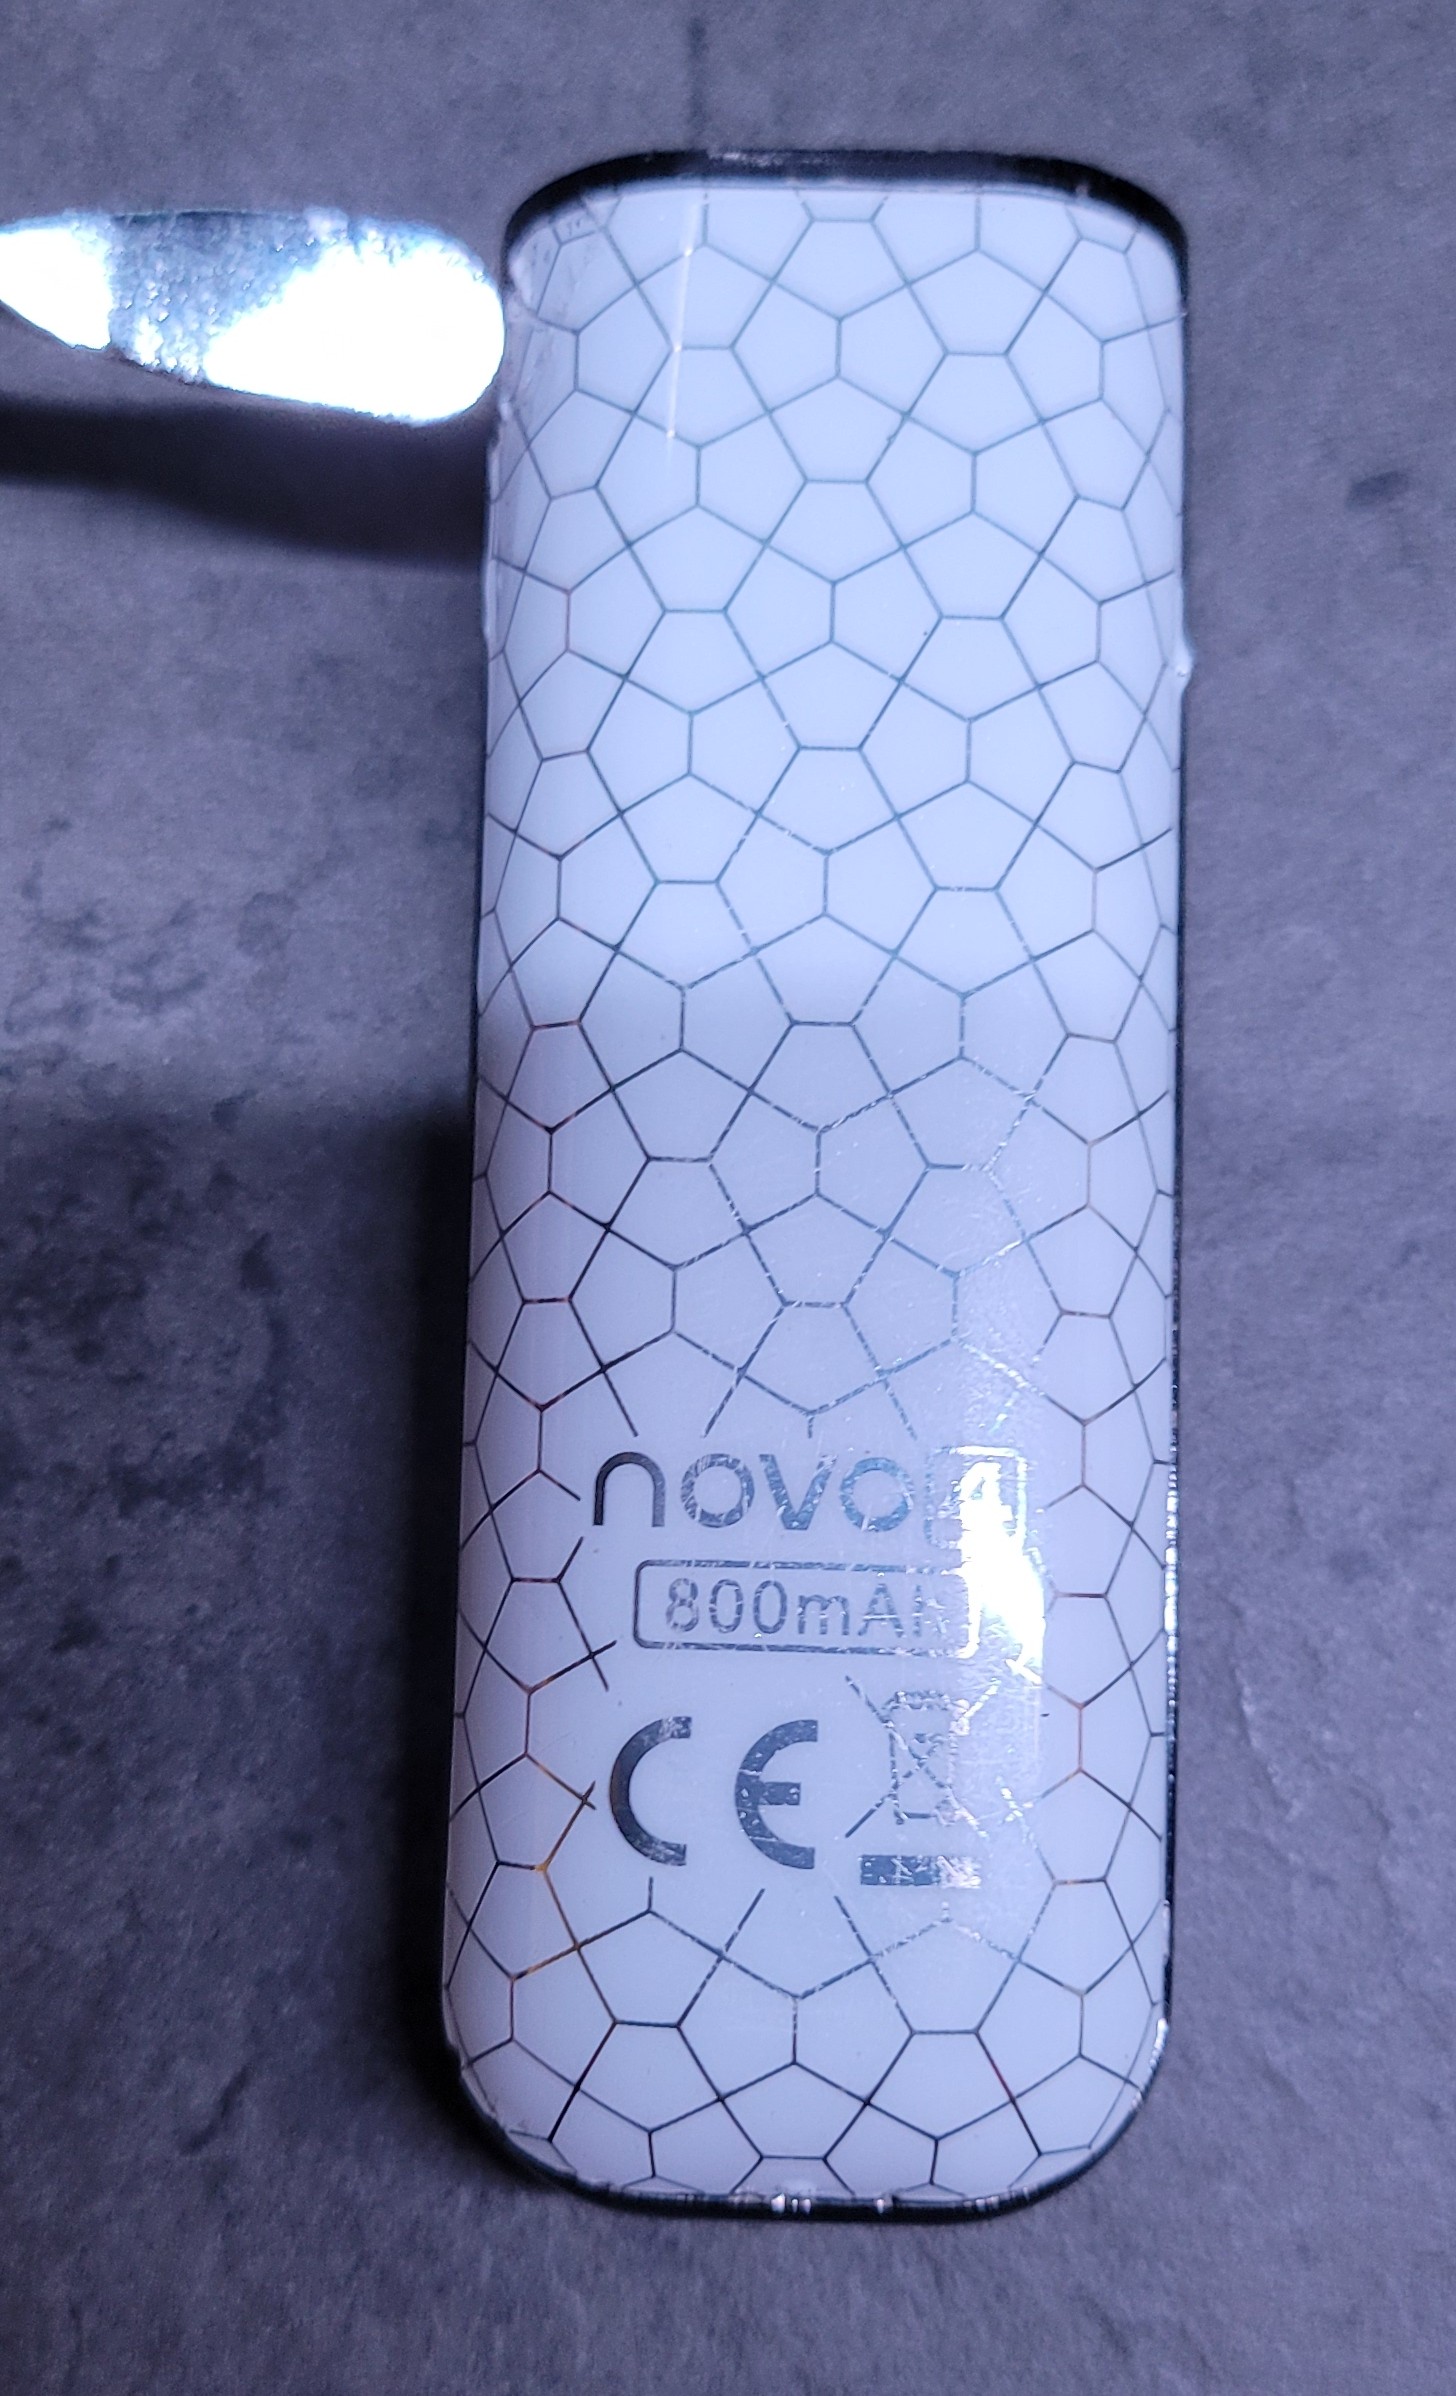
This short blog is a brief overview of how to teardown the SMOK Novo 4 and similar devices produced by them such as the Novo 3, Novo 2 and Novo original. I’m covering the 4 specifically here, but reference the 3/2/1 in a couple pics.
Although I no longer vape (I don’t need to preach or be preached to), I have received some of these devices from friends or family to reclaim their internals. Some parts that are cool include the lithium battery, charge circuit and a few other odds and ends in the device. This blog post will also be helpful for those that need help troubleshooting older models as they are VERY similar in design. So let’s get down to it.
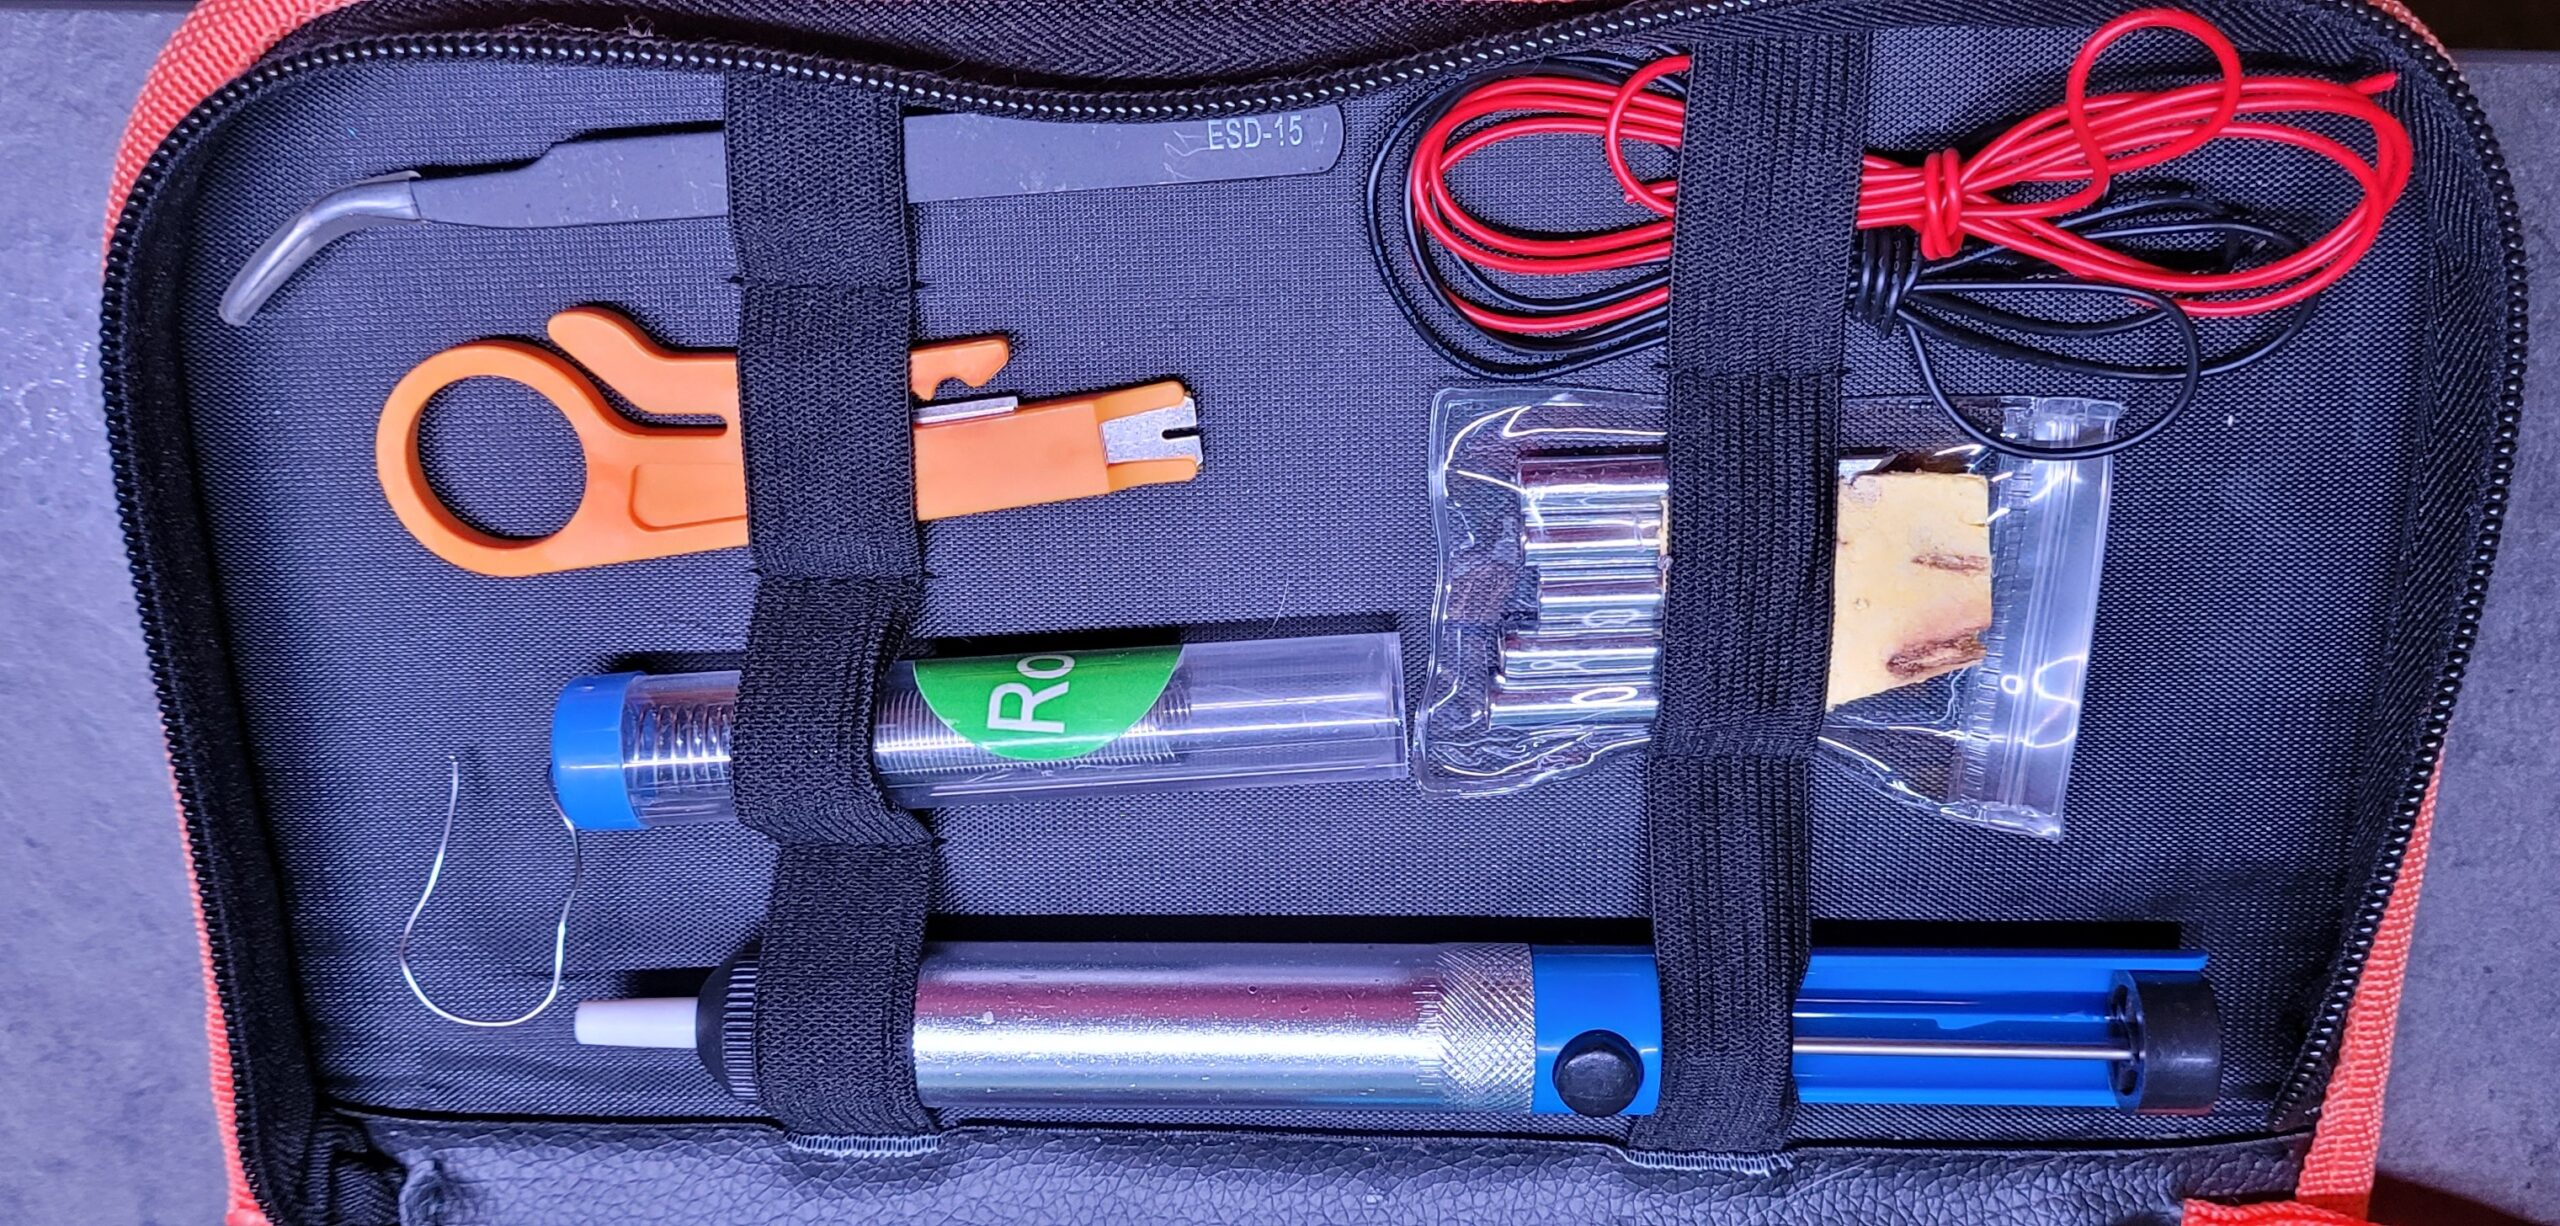
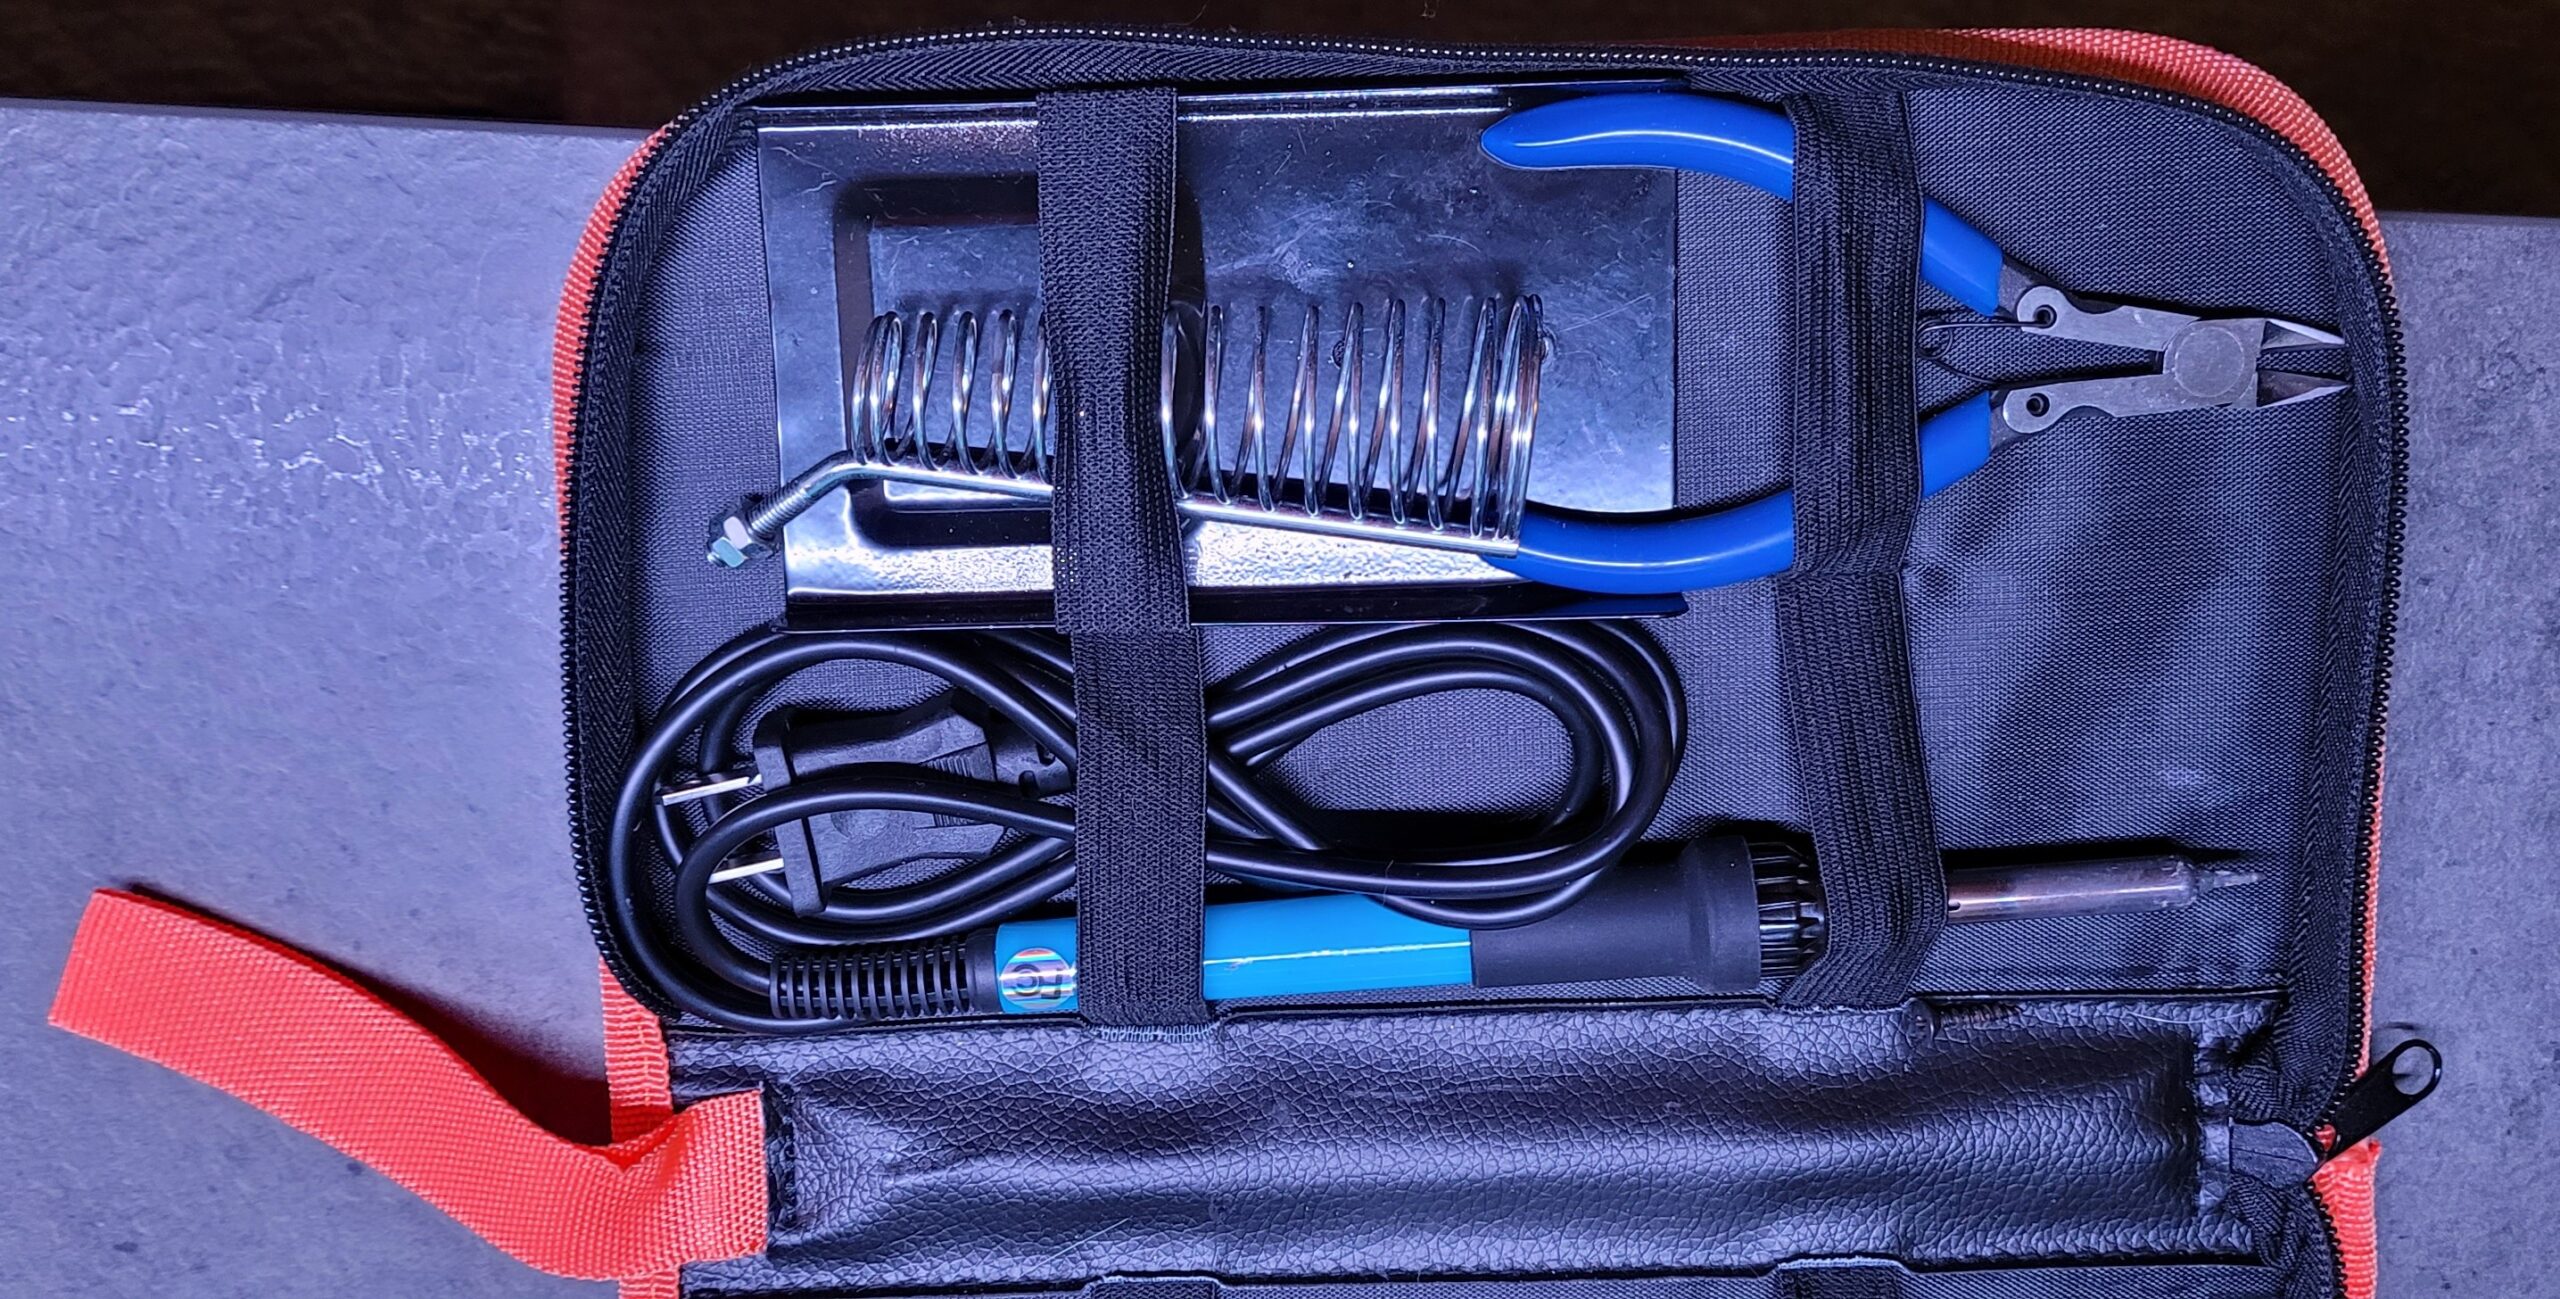
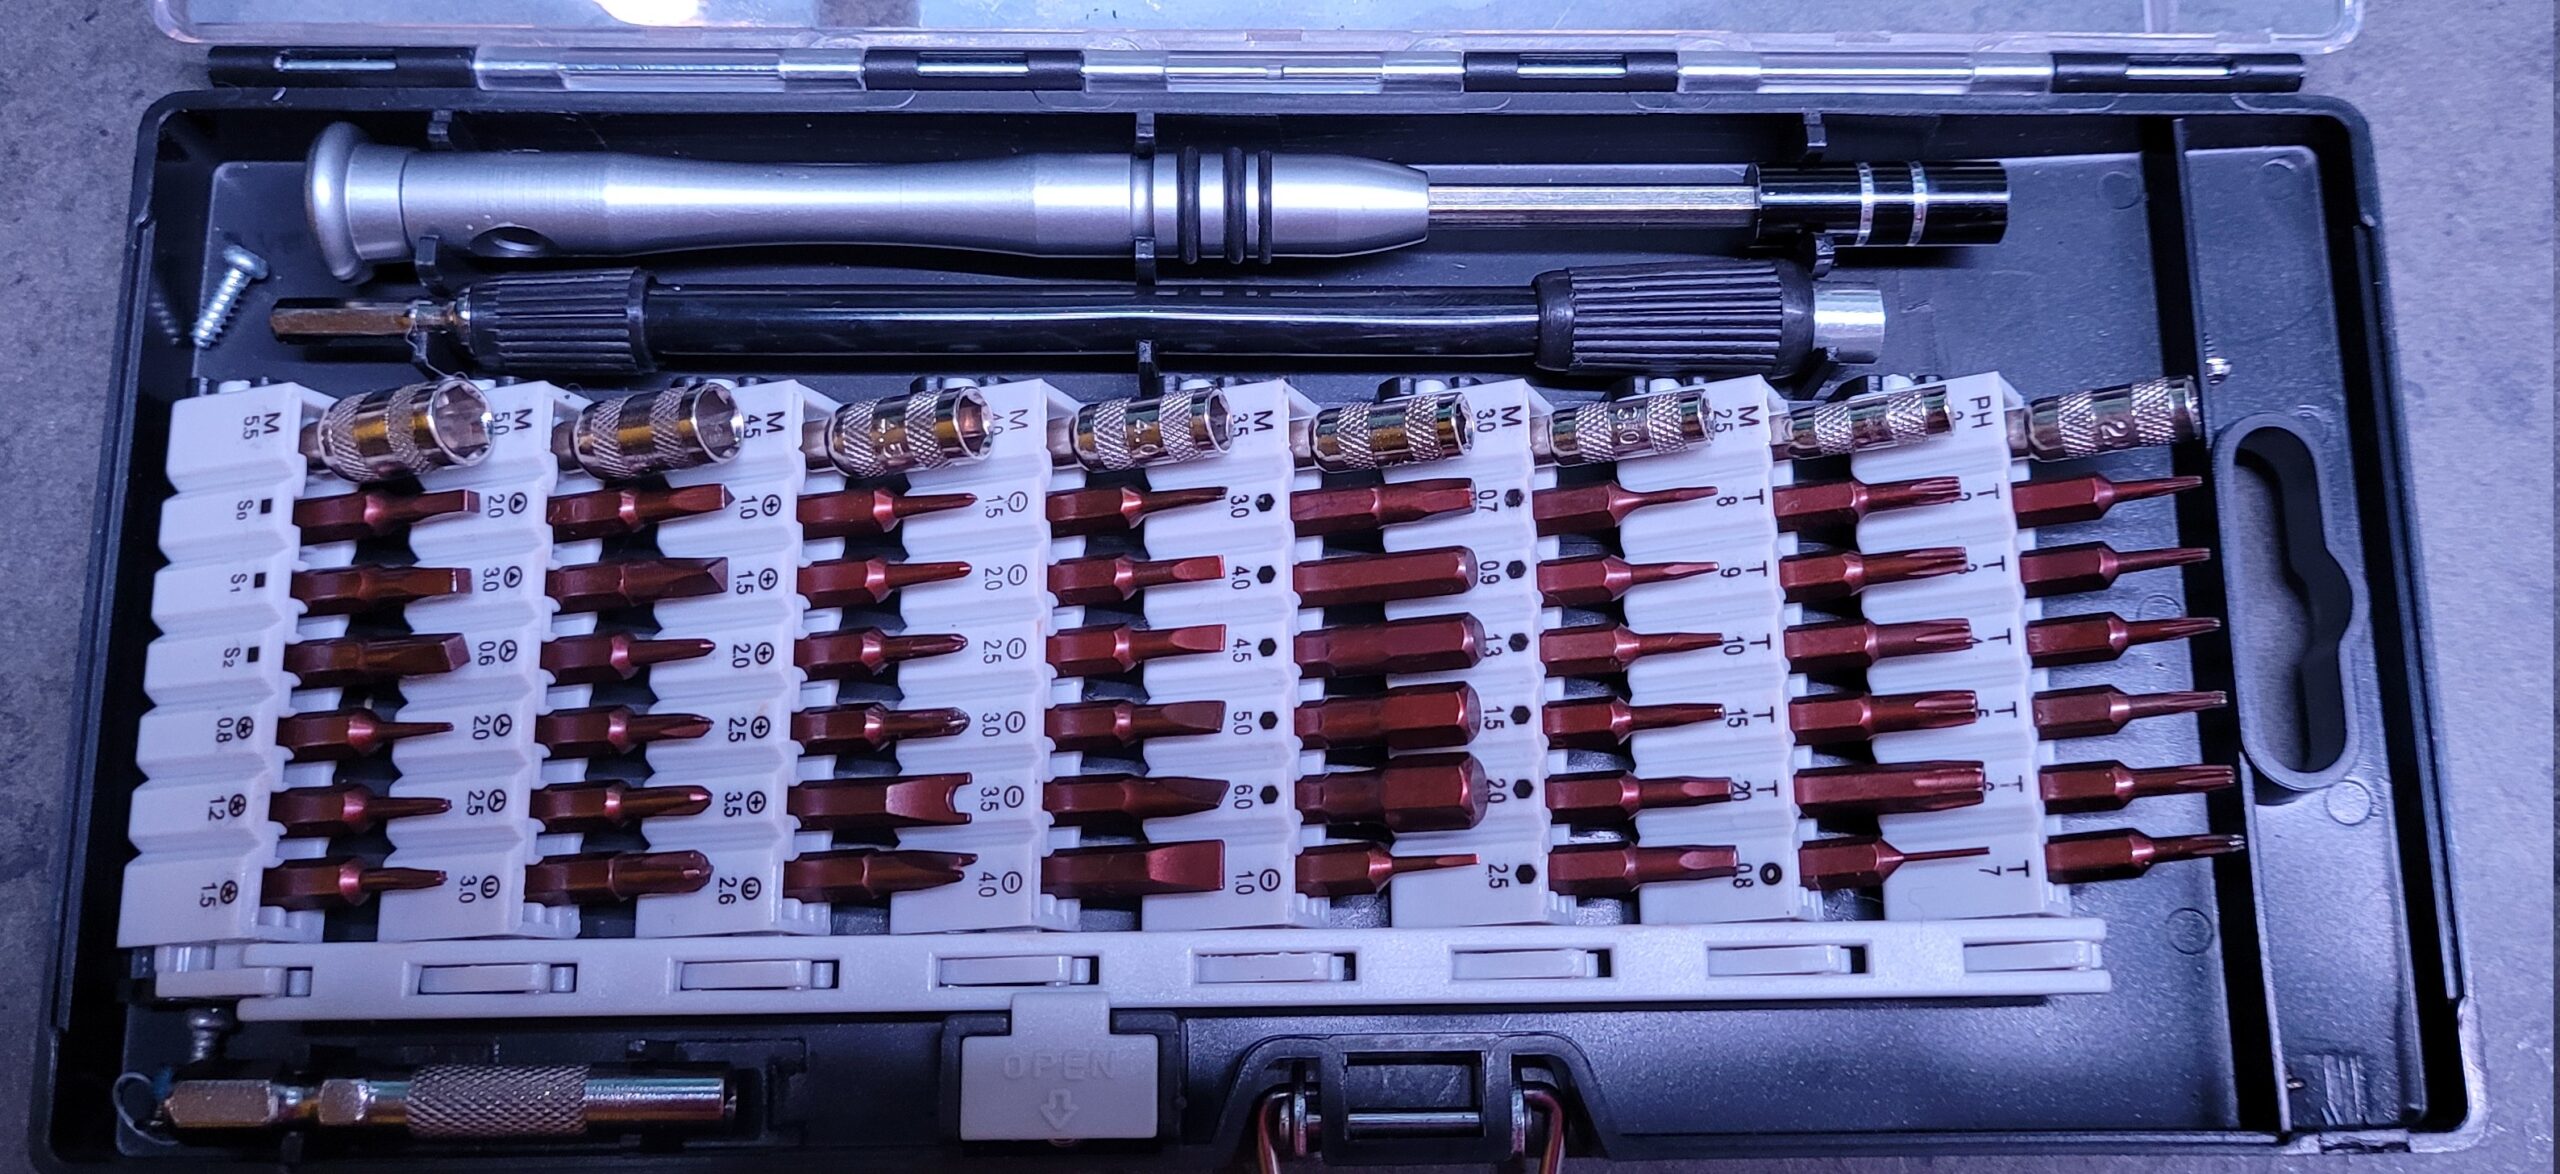
These are the specific tools you will need for the Novo 4. I believe these are specific to only the model 4. The older models like the 2 and 3 can be done with only the smudge tool, as they have no torx head or phillips head screws.
Tool List:
- Torx driver, Size: T7
- Phillips driver, Size: 1
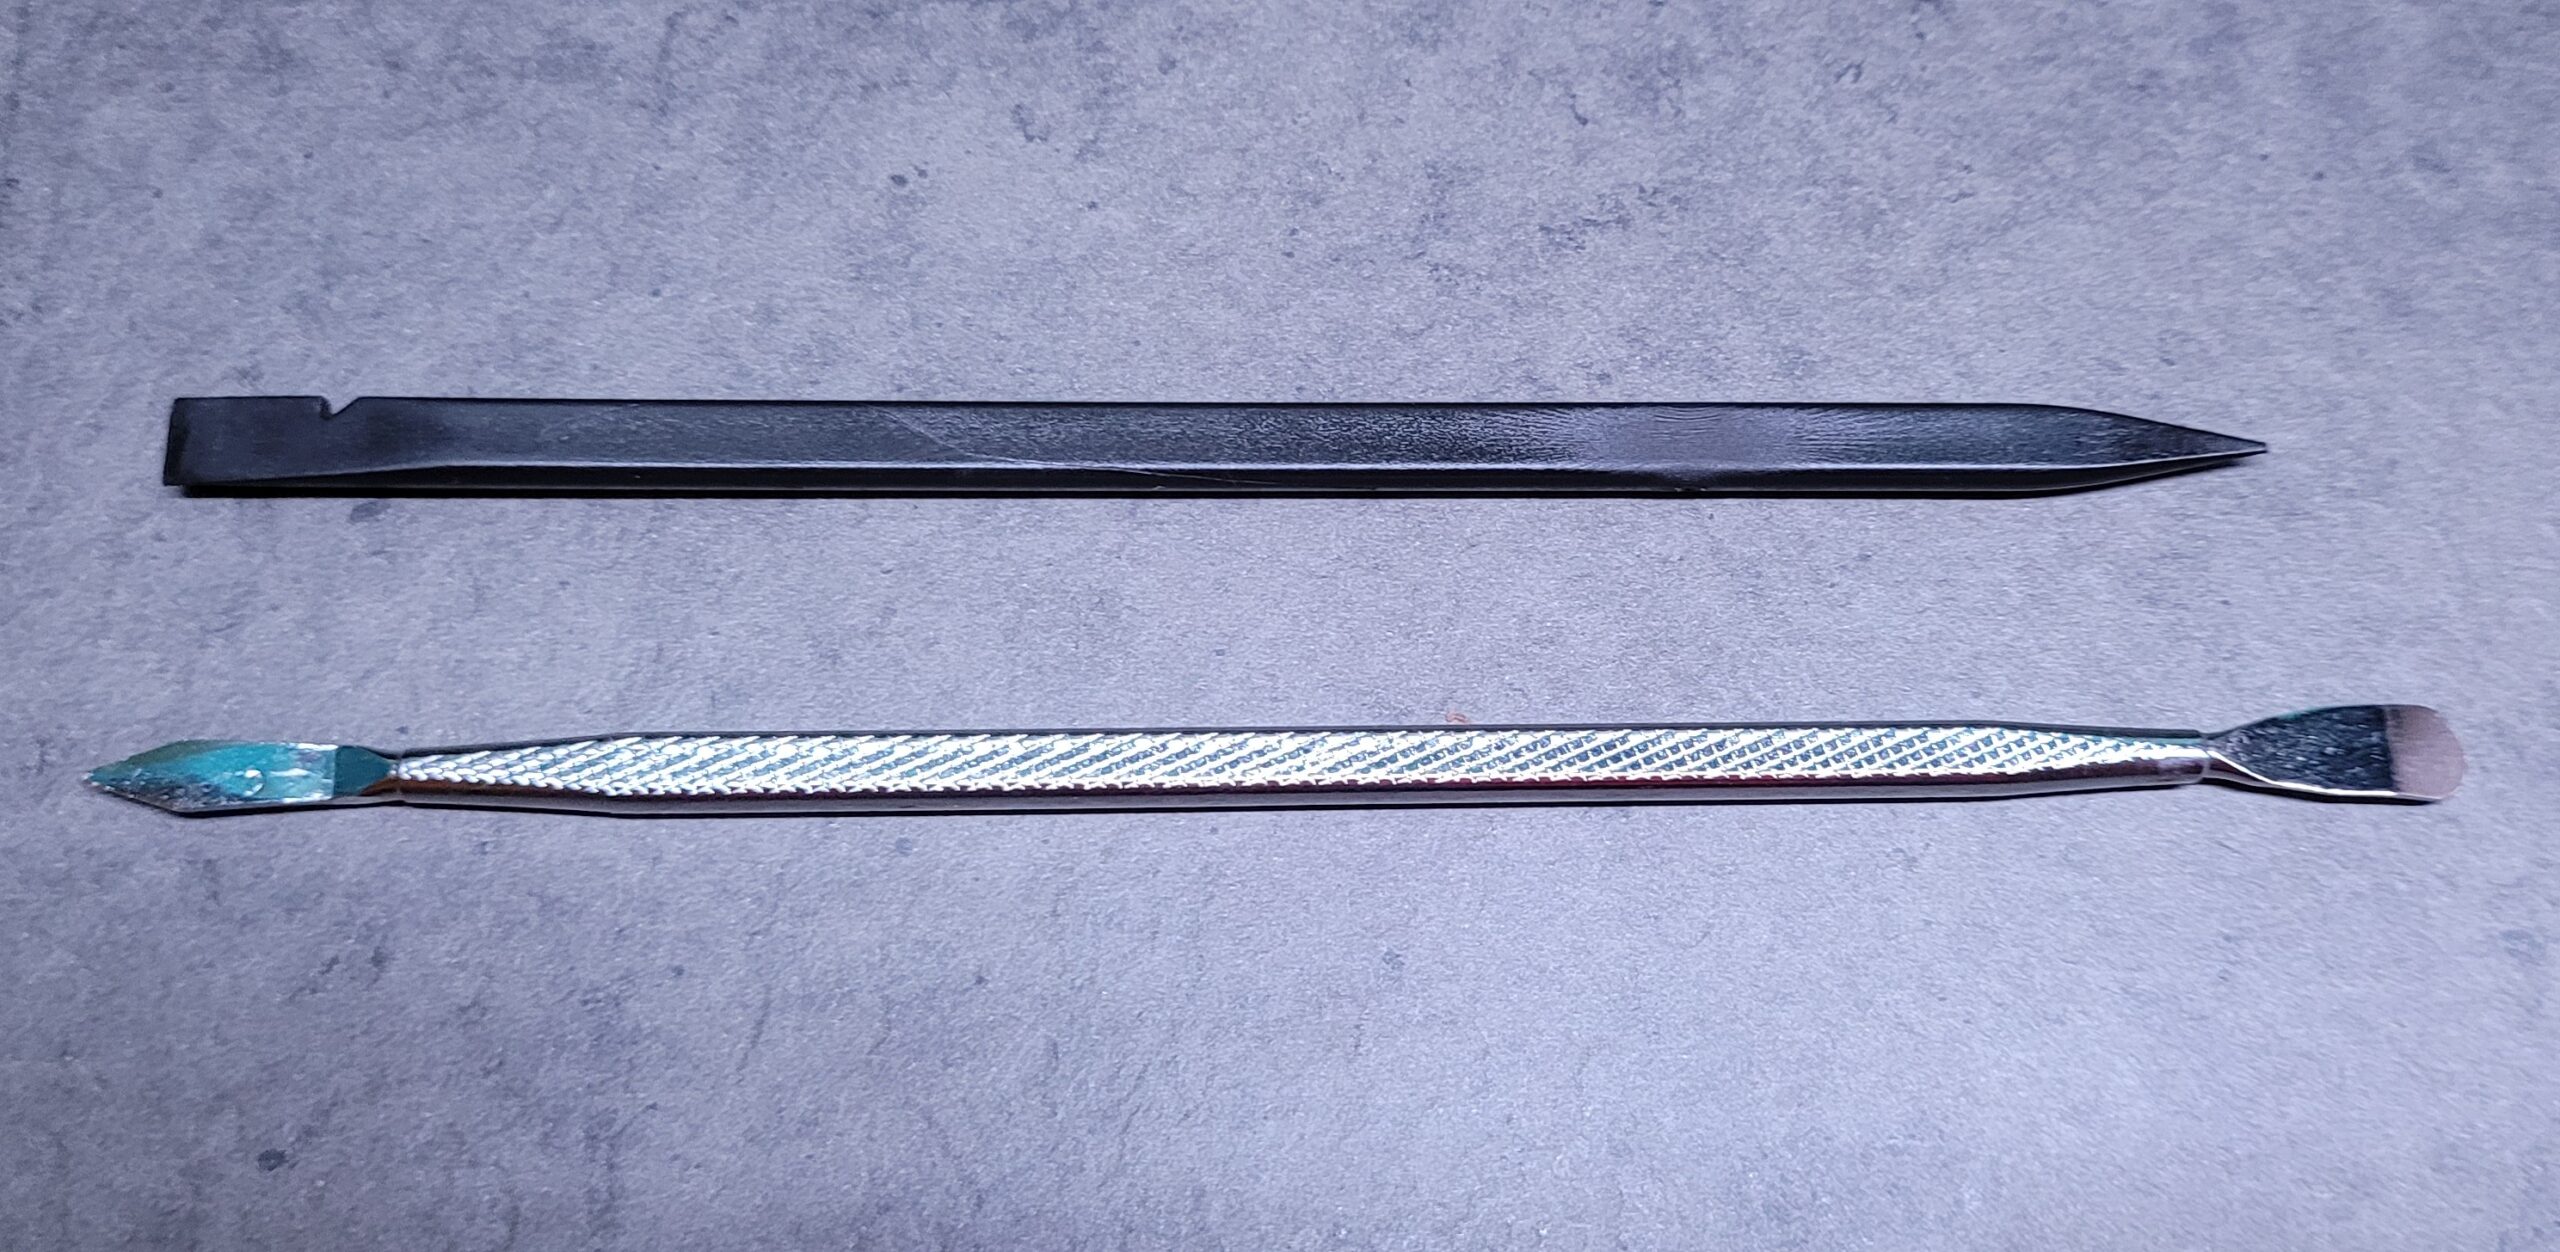
- Metal Smudge Tool (Plastic for older models)
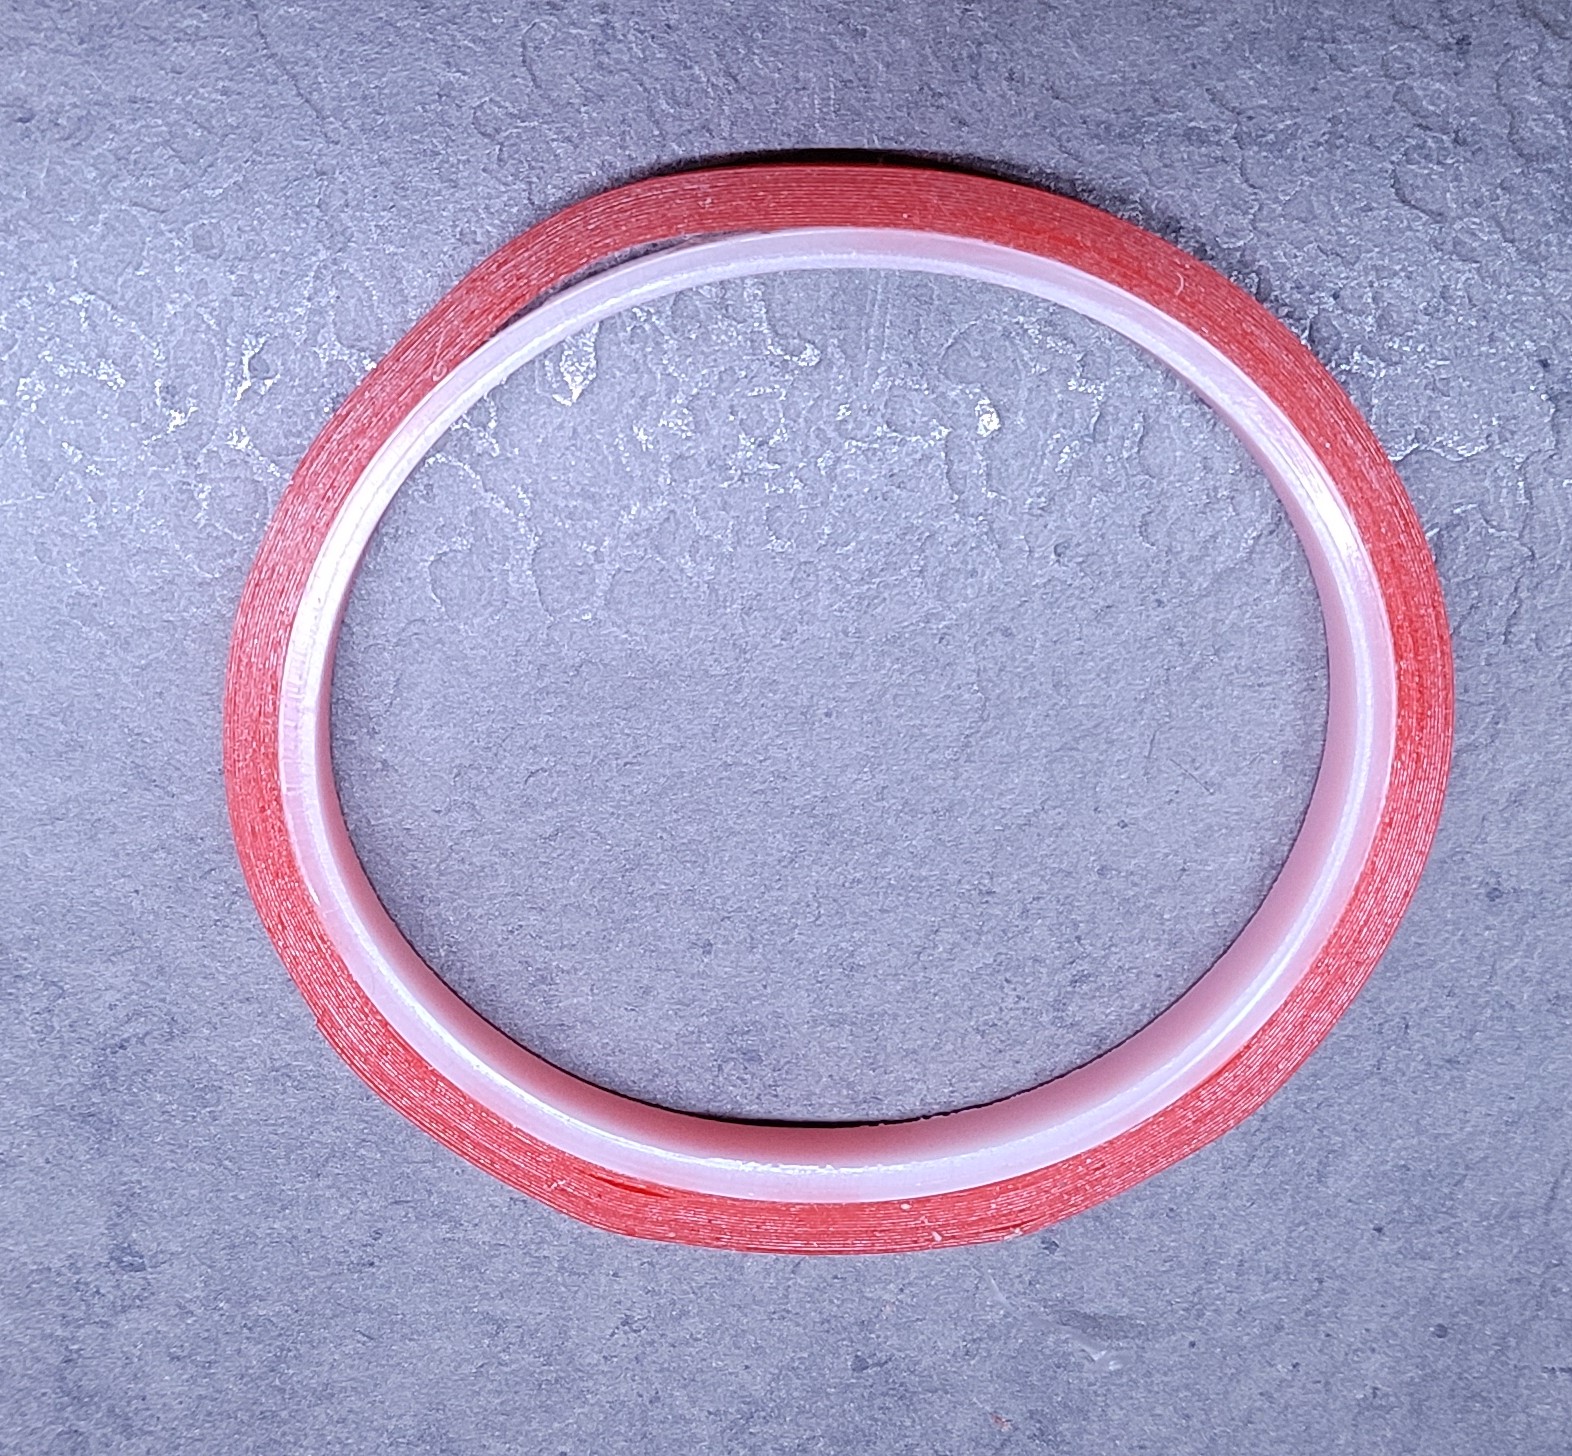
- Thin dual sided adhesive (if repairing)
OK, with the tool list out of the way, let’s get in to to this. I’ll show the breakdown of the 4, which as mentioned is very similar to the other models minus some additional circuitry.
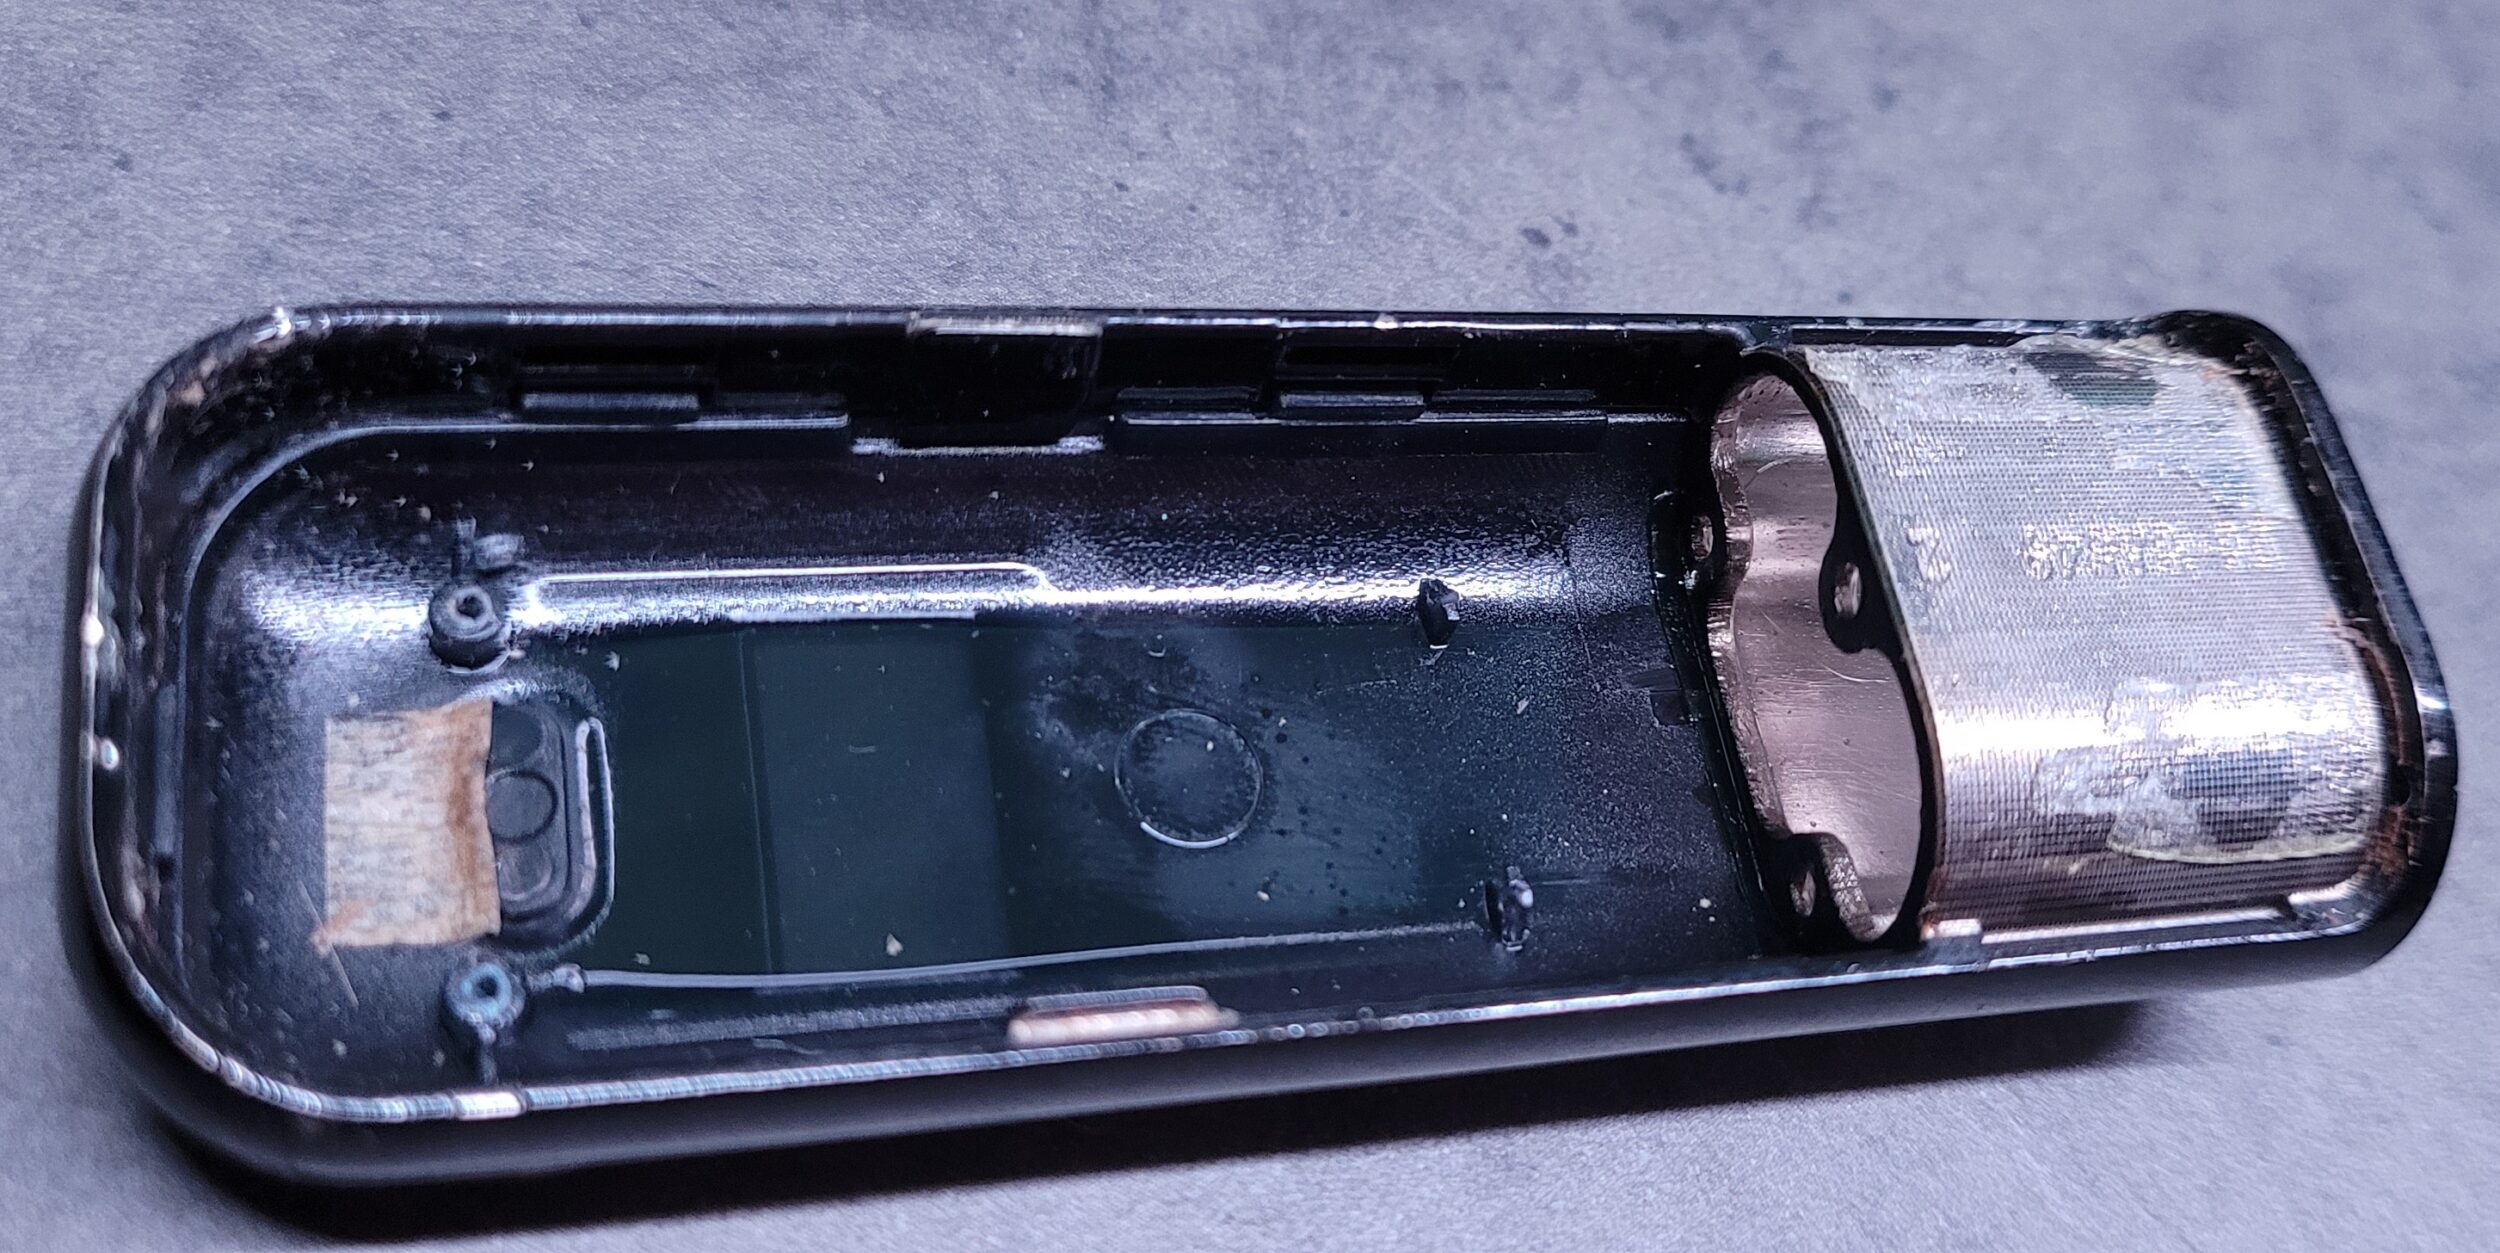
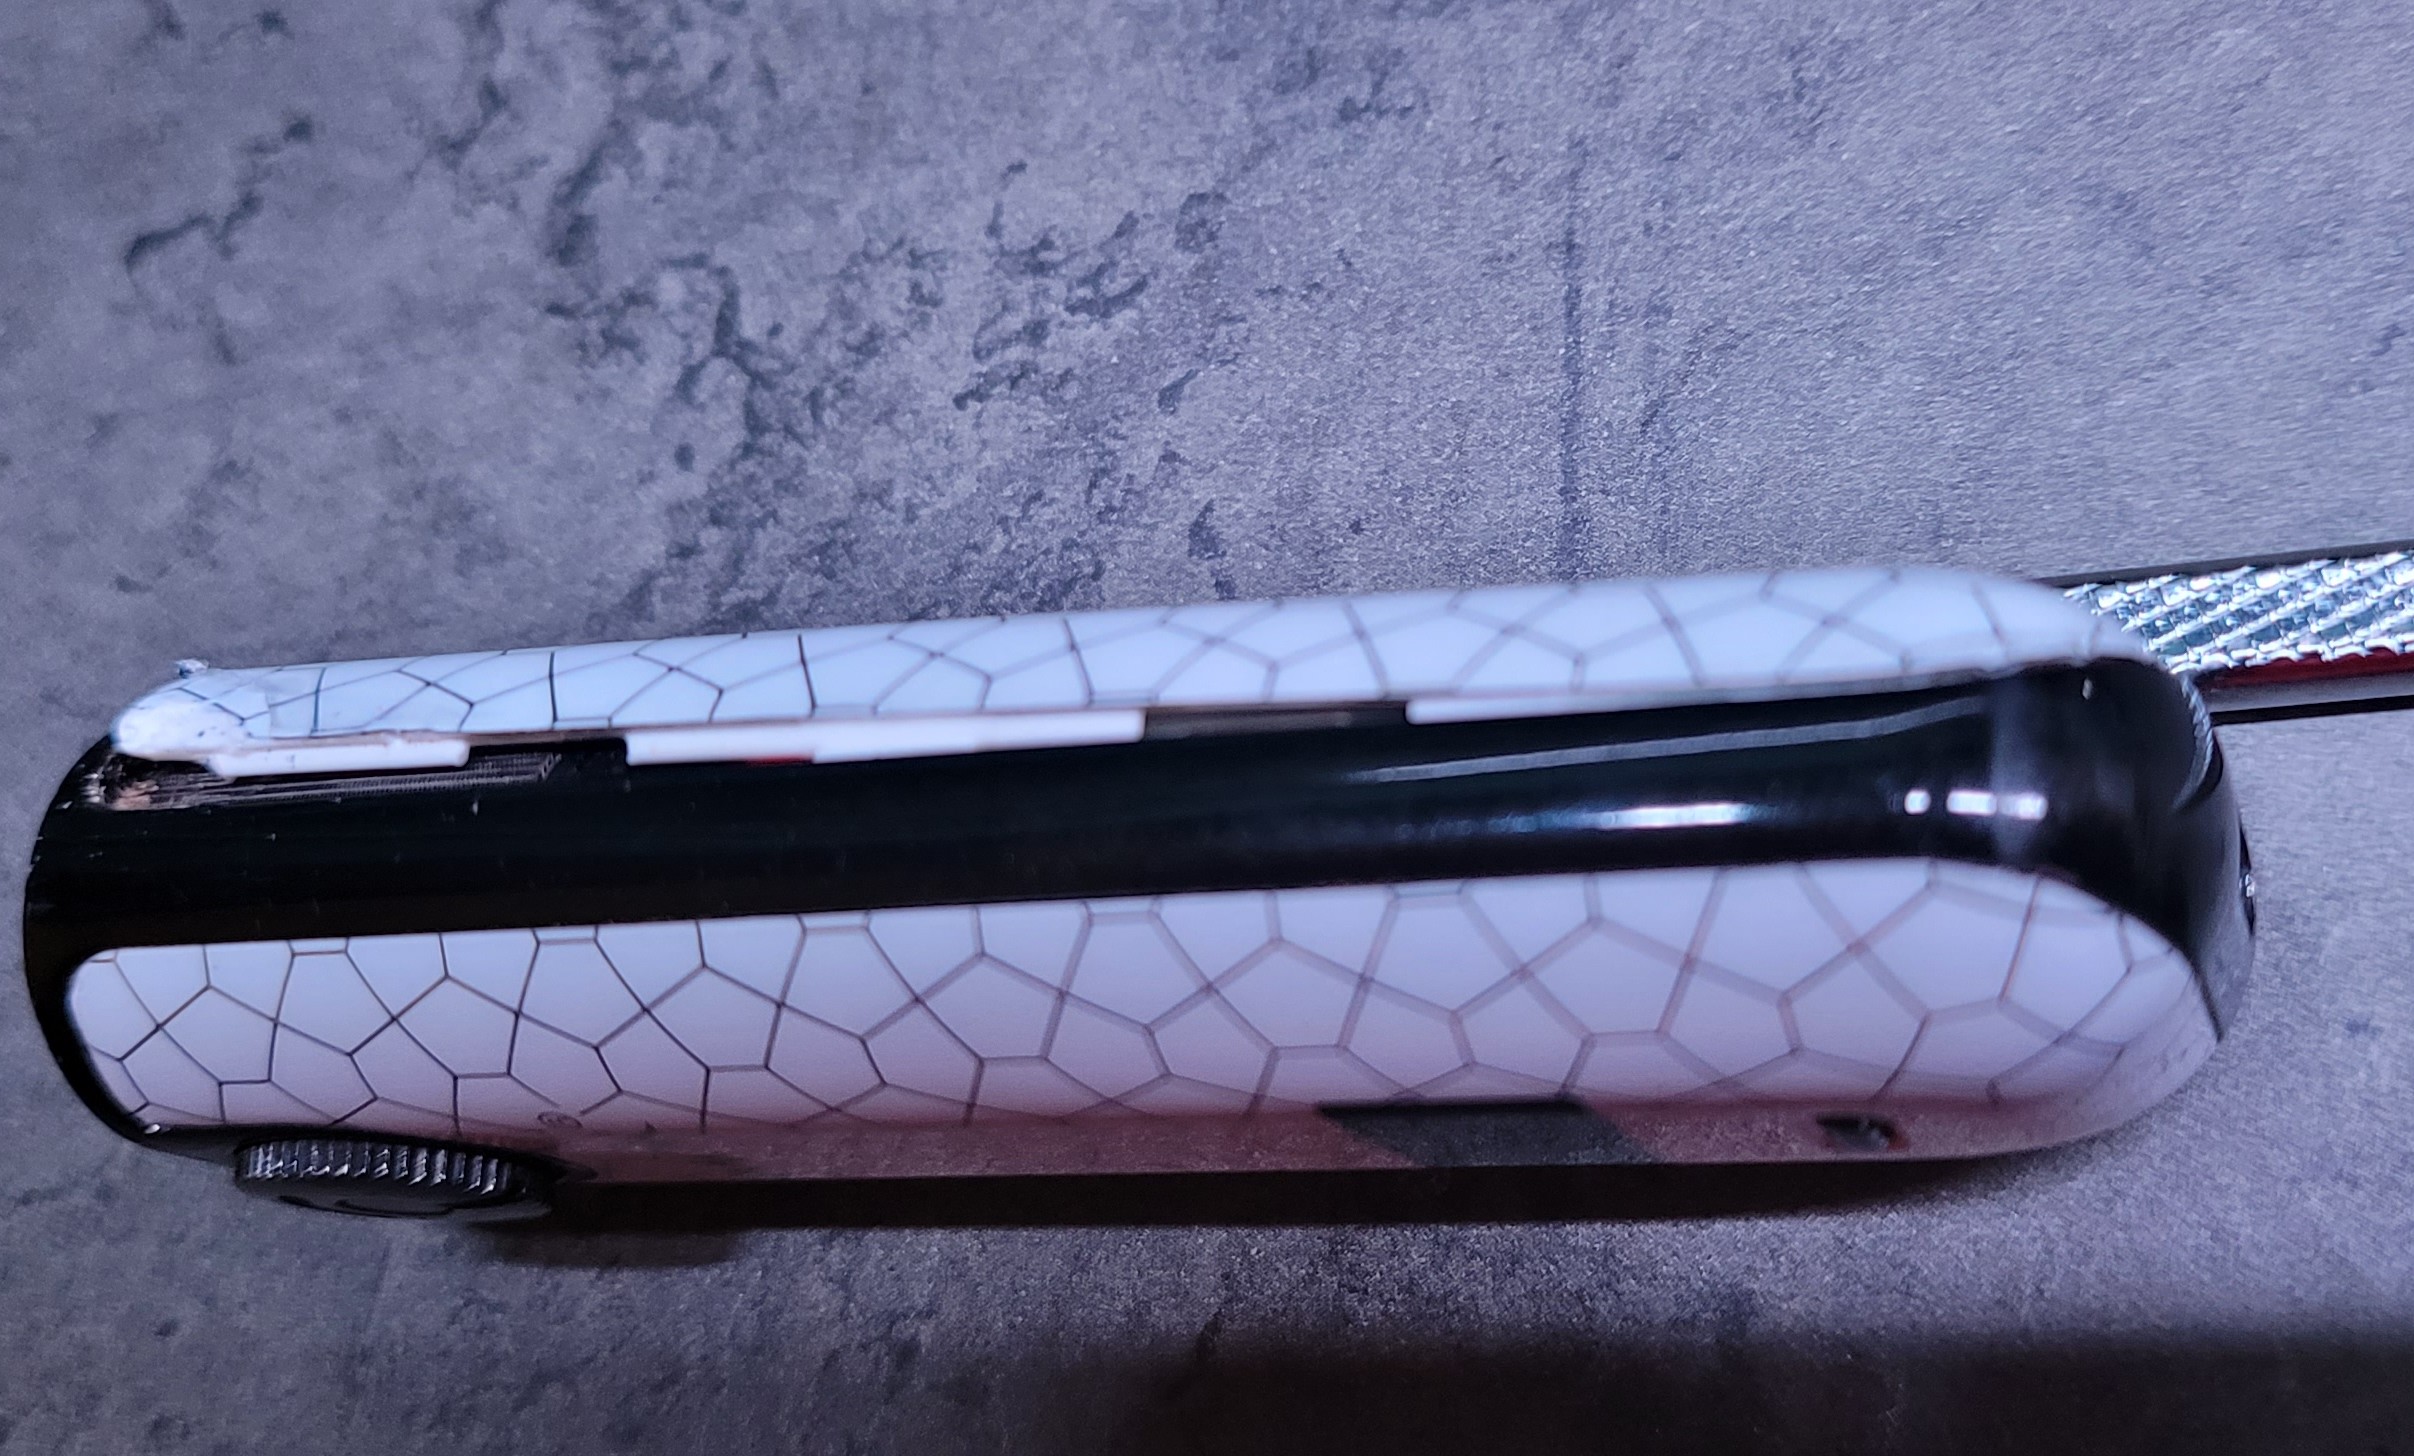
First step will be to get your metal smudger out. You want to give this a gentle go as this can cause some issues with marring. I started on the back side of the device, upper left when looking at it with the screen side down and top side up. If you press hard enough, you can begin to separate the adhesive (absurdly strong) and begin the process of popping up the back shield/cover. Slowly work your way around the device, careful to not bend the plastic. I attempted to do this with my plastic smudgers, but the adhesive is just too strong. For older models like the Novo 3 or 2, that was sufficient. They clearly upgraded adhesive for this newer model.
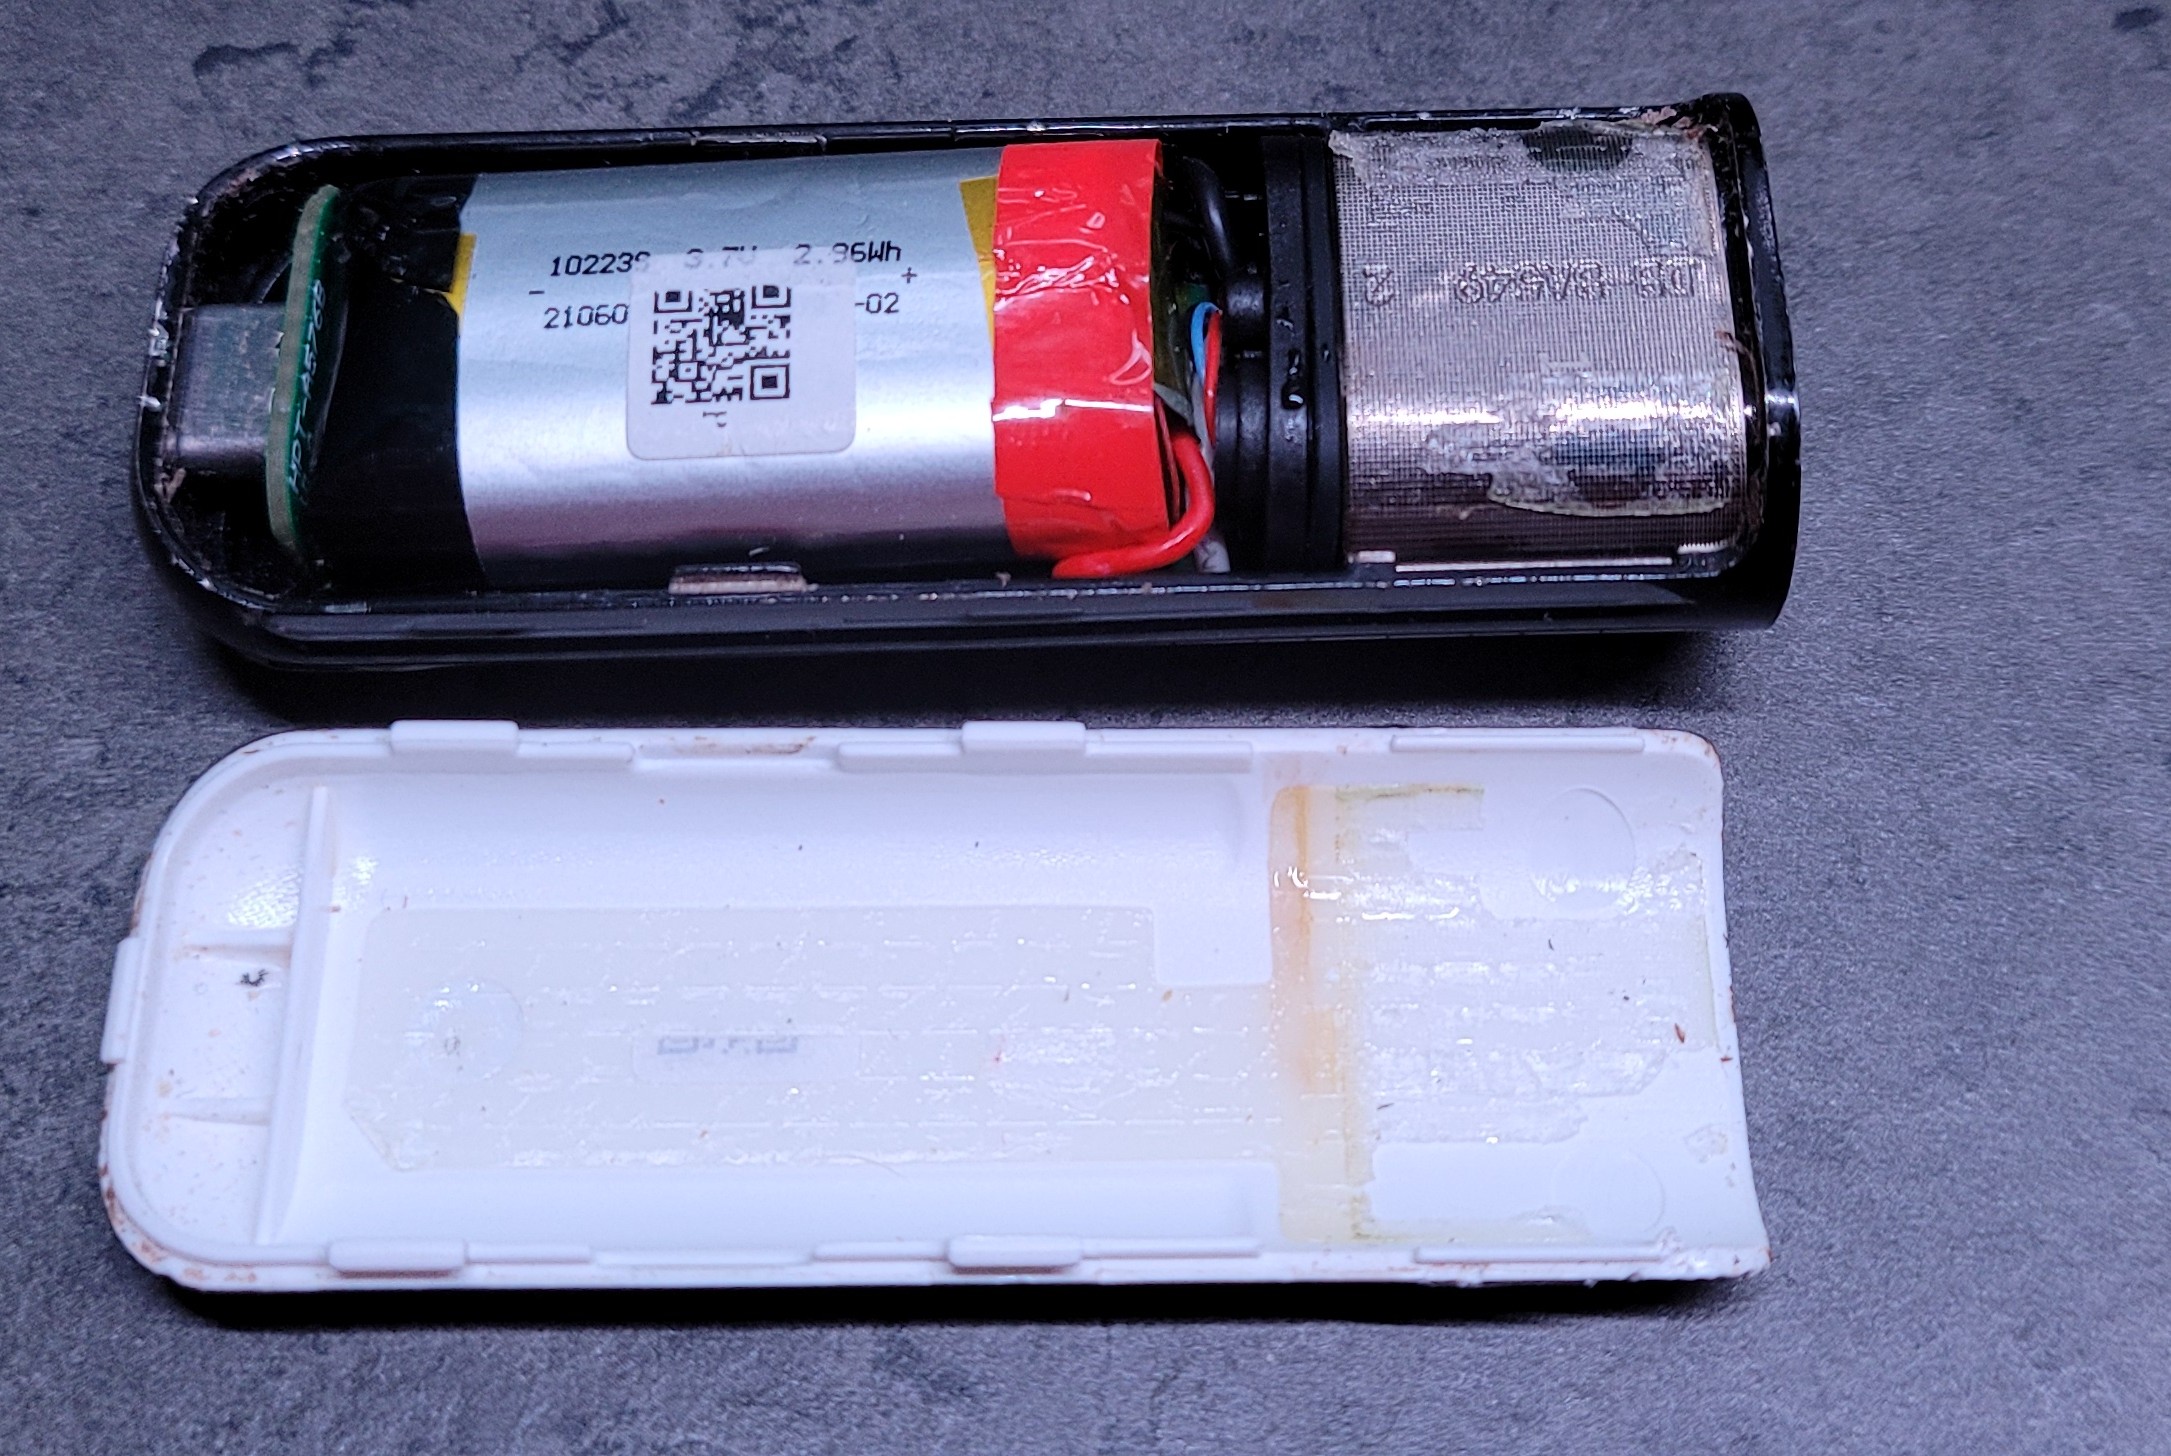
Once you get all the way around the device, unclasping the small clips that fit in the metal housing, you will encounter the adhesive. As mentioned, this stuff is rather strong but nothing you can’t manage if you got this far.
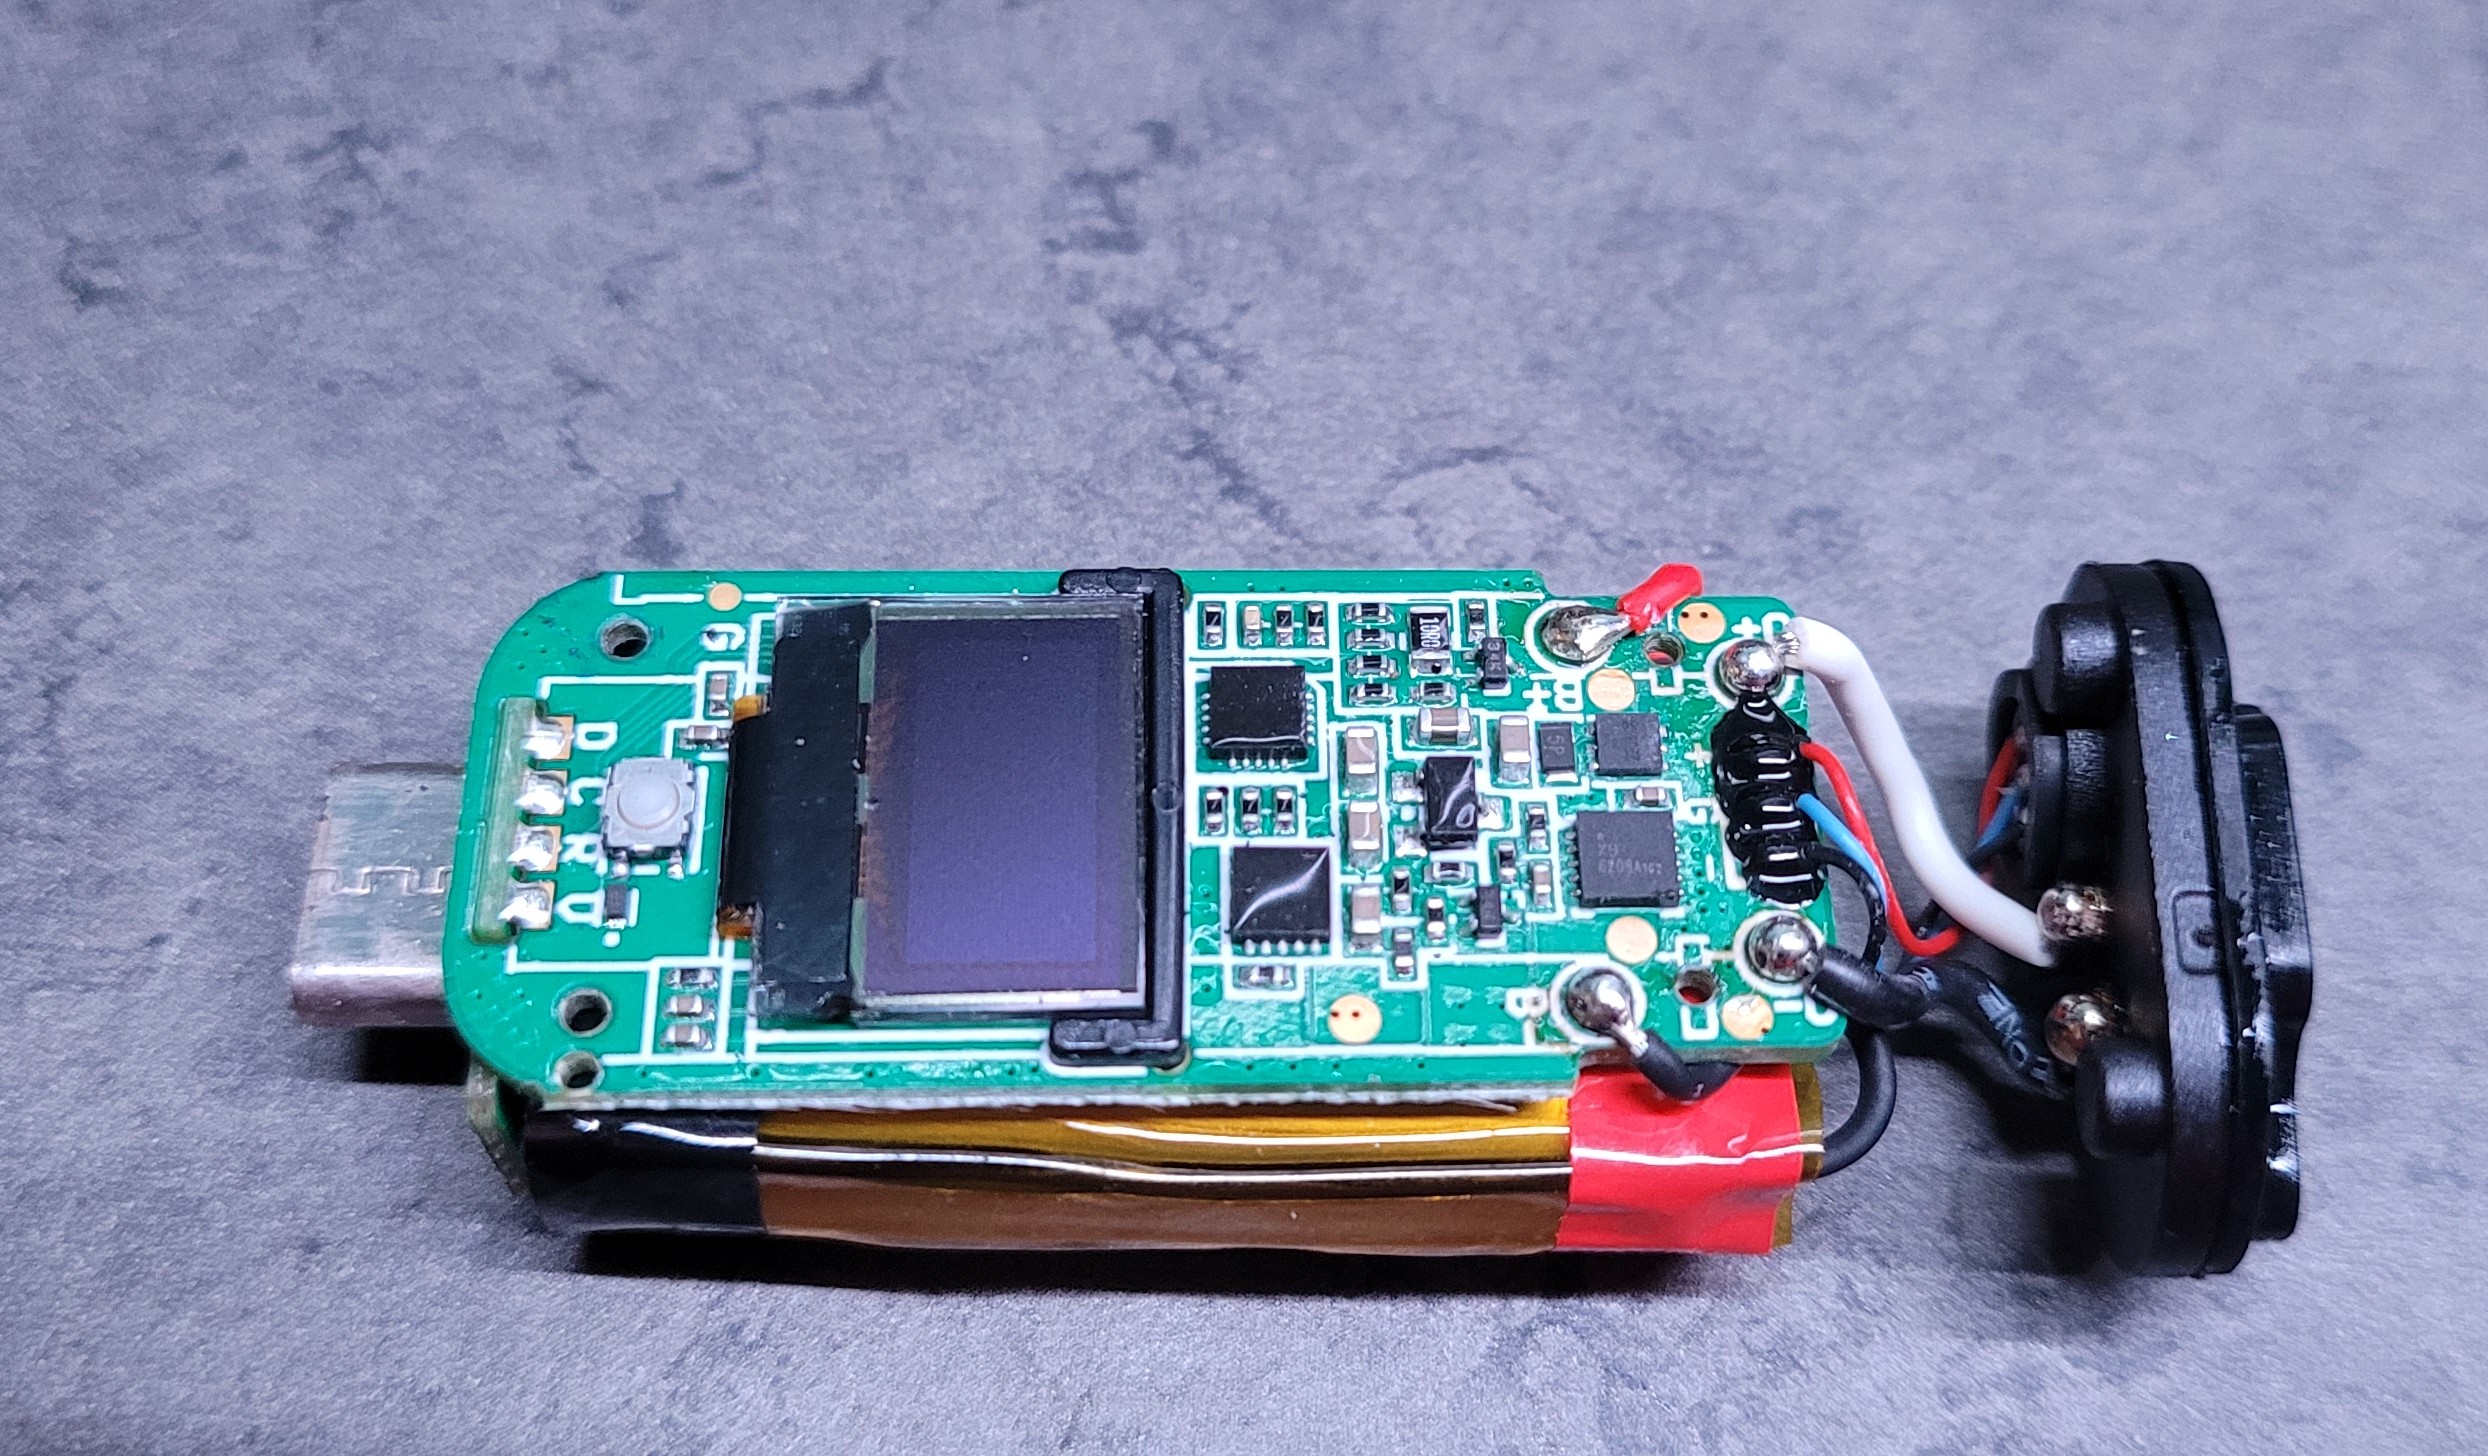
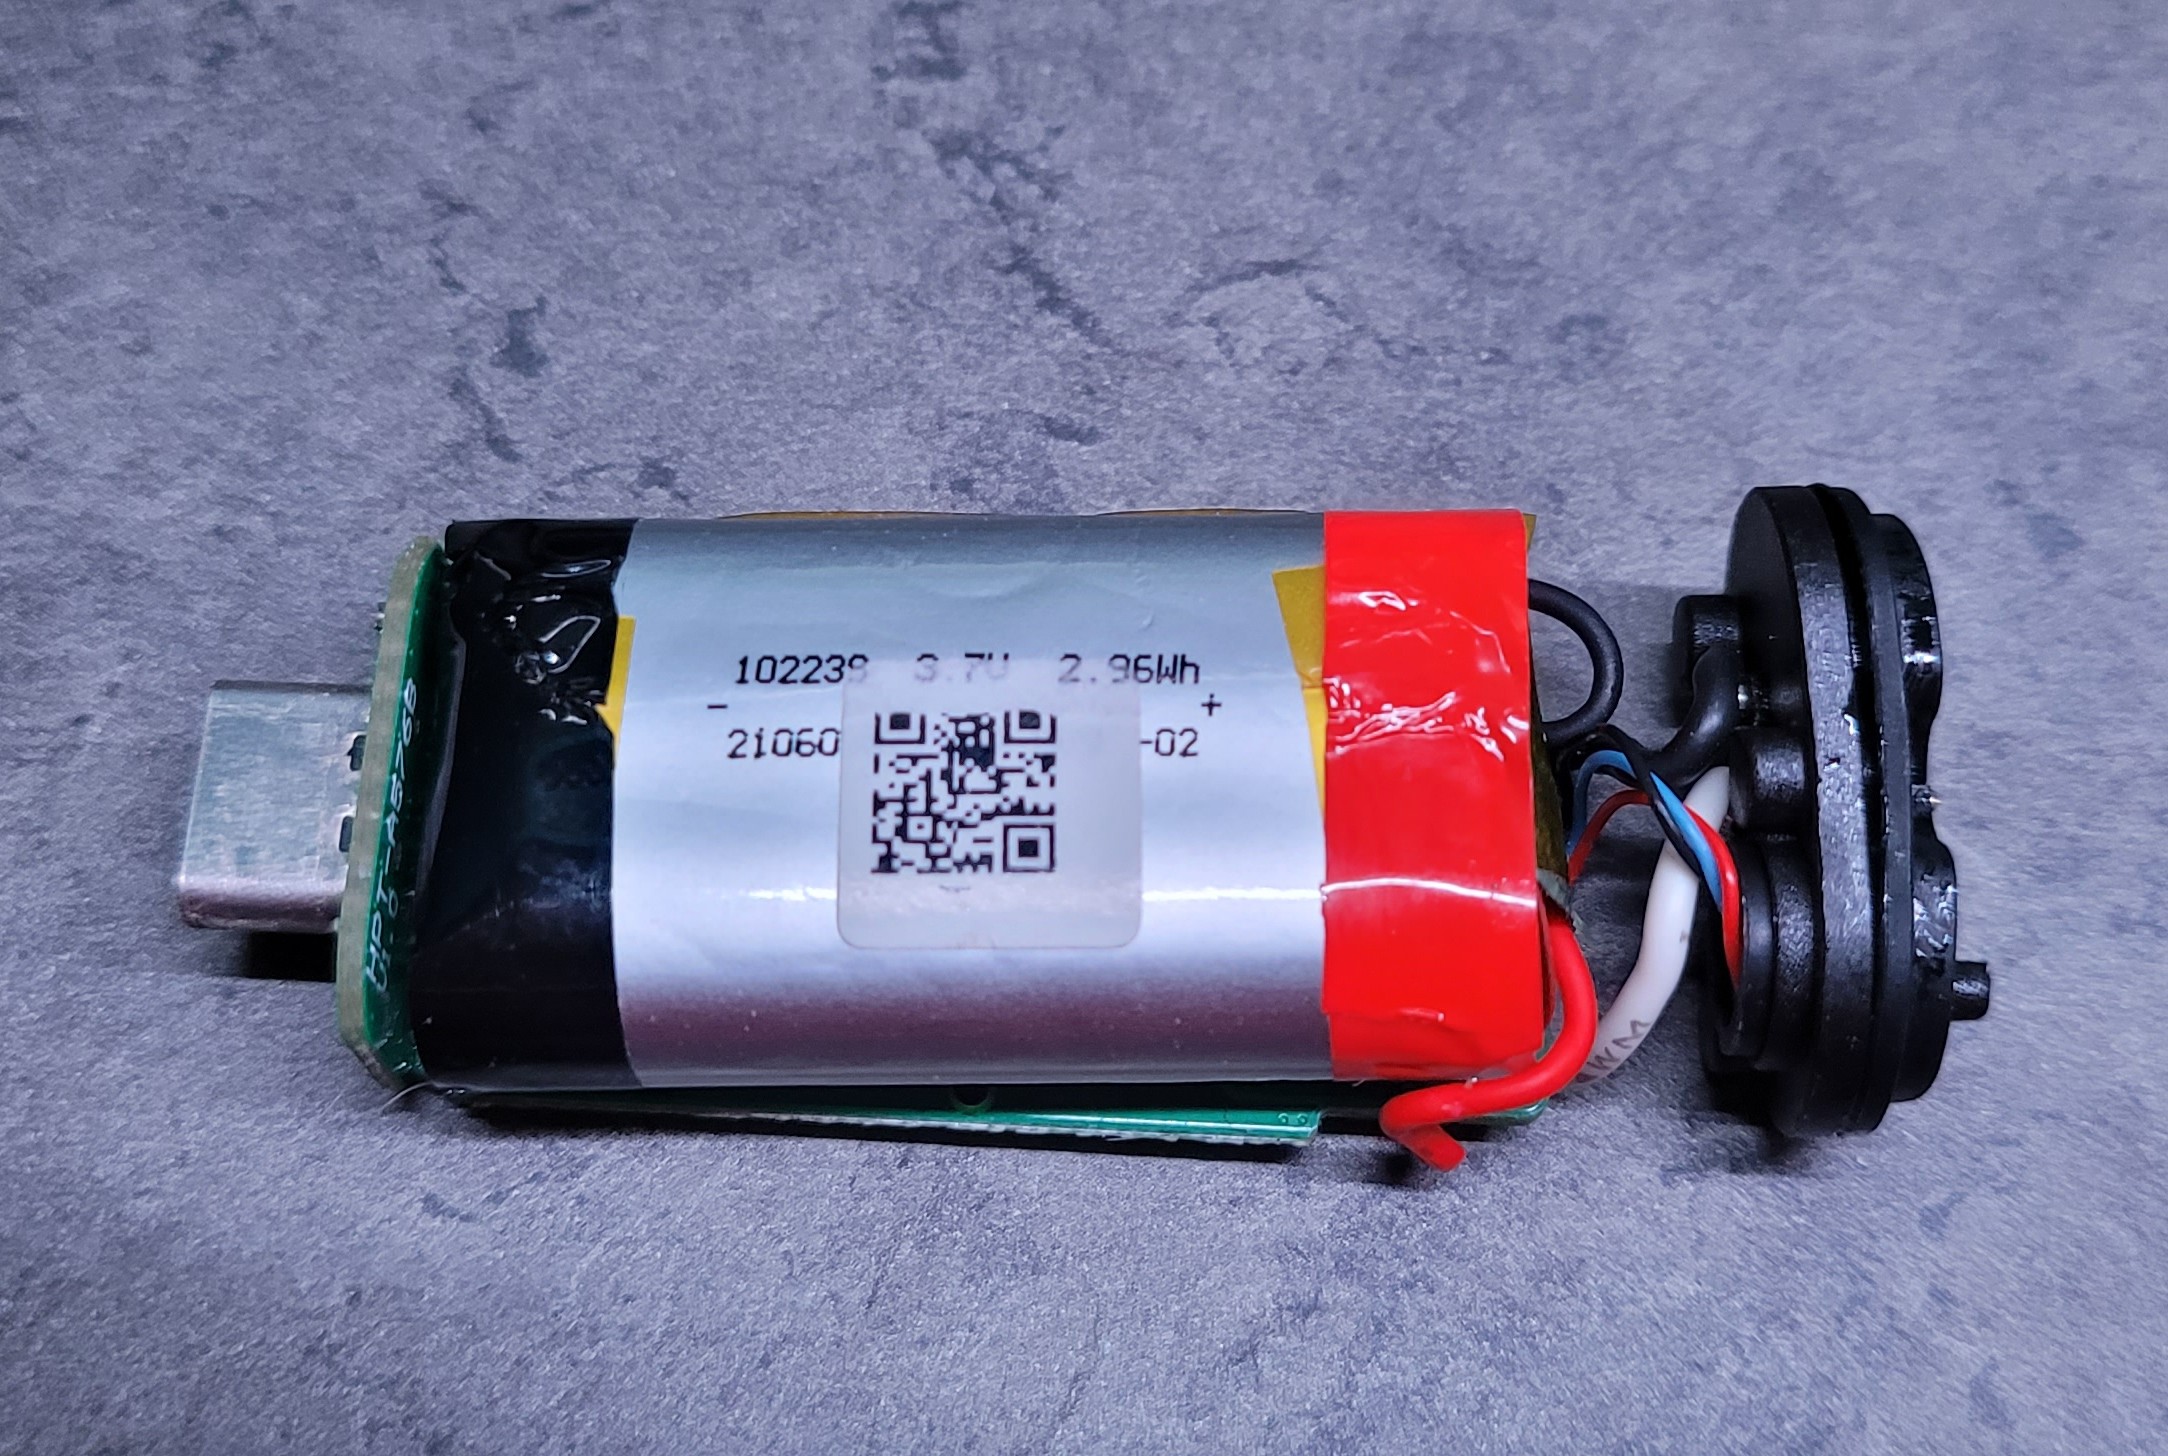
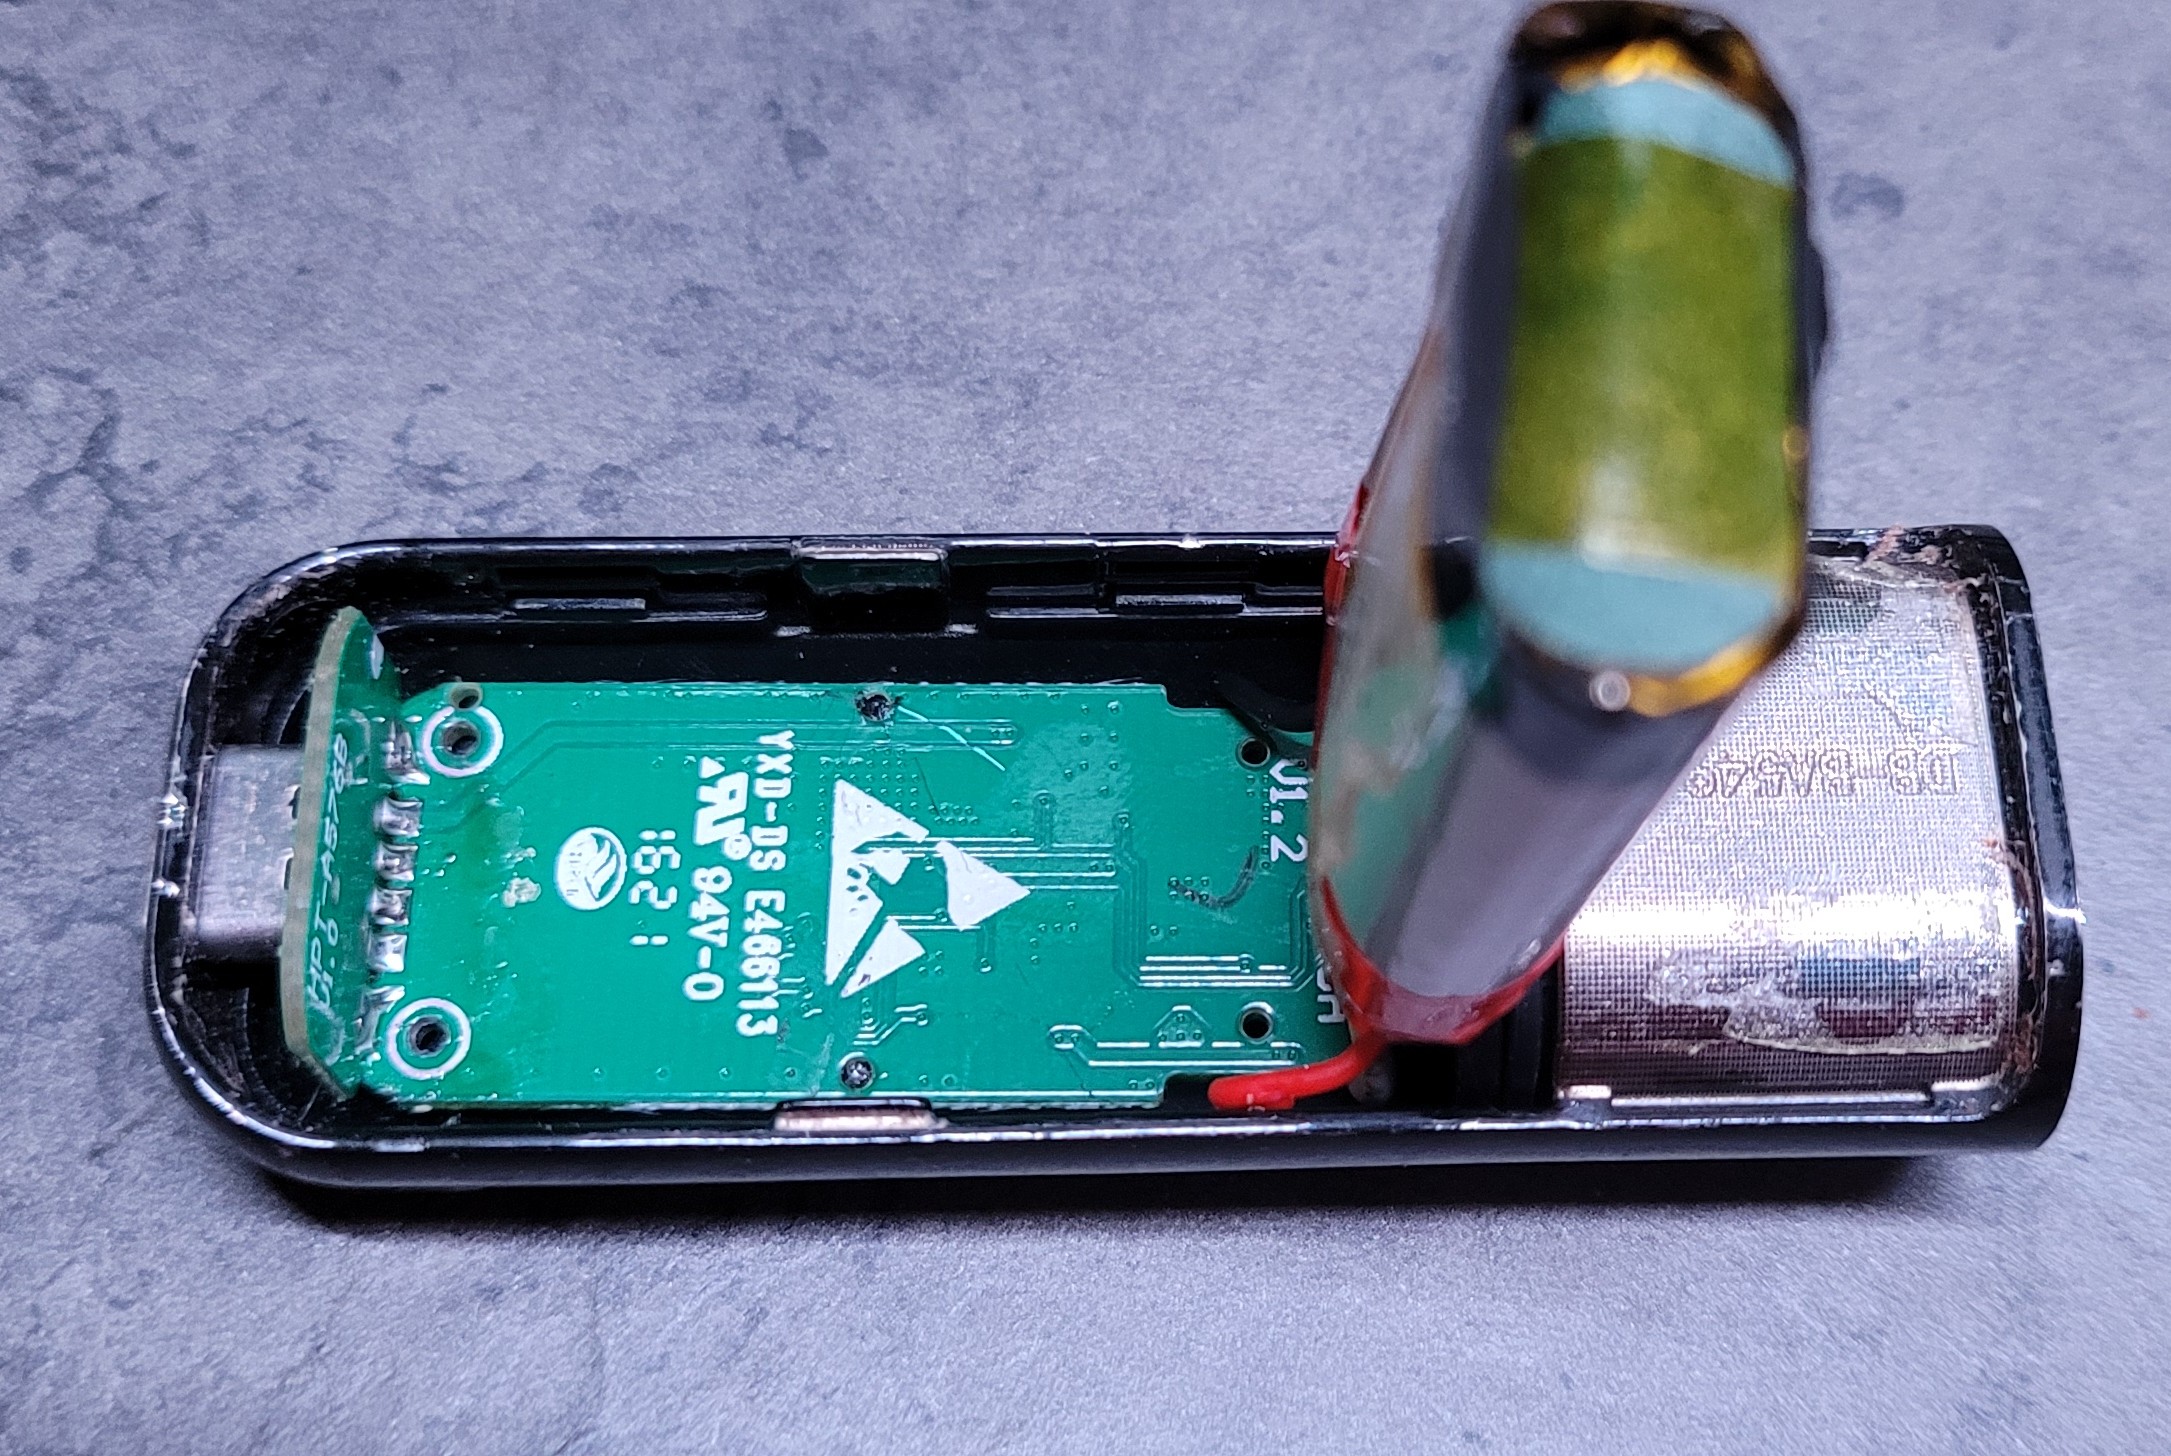
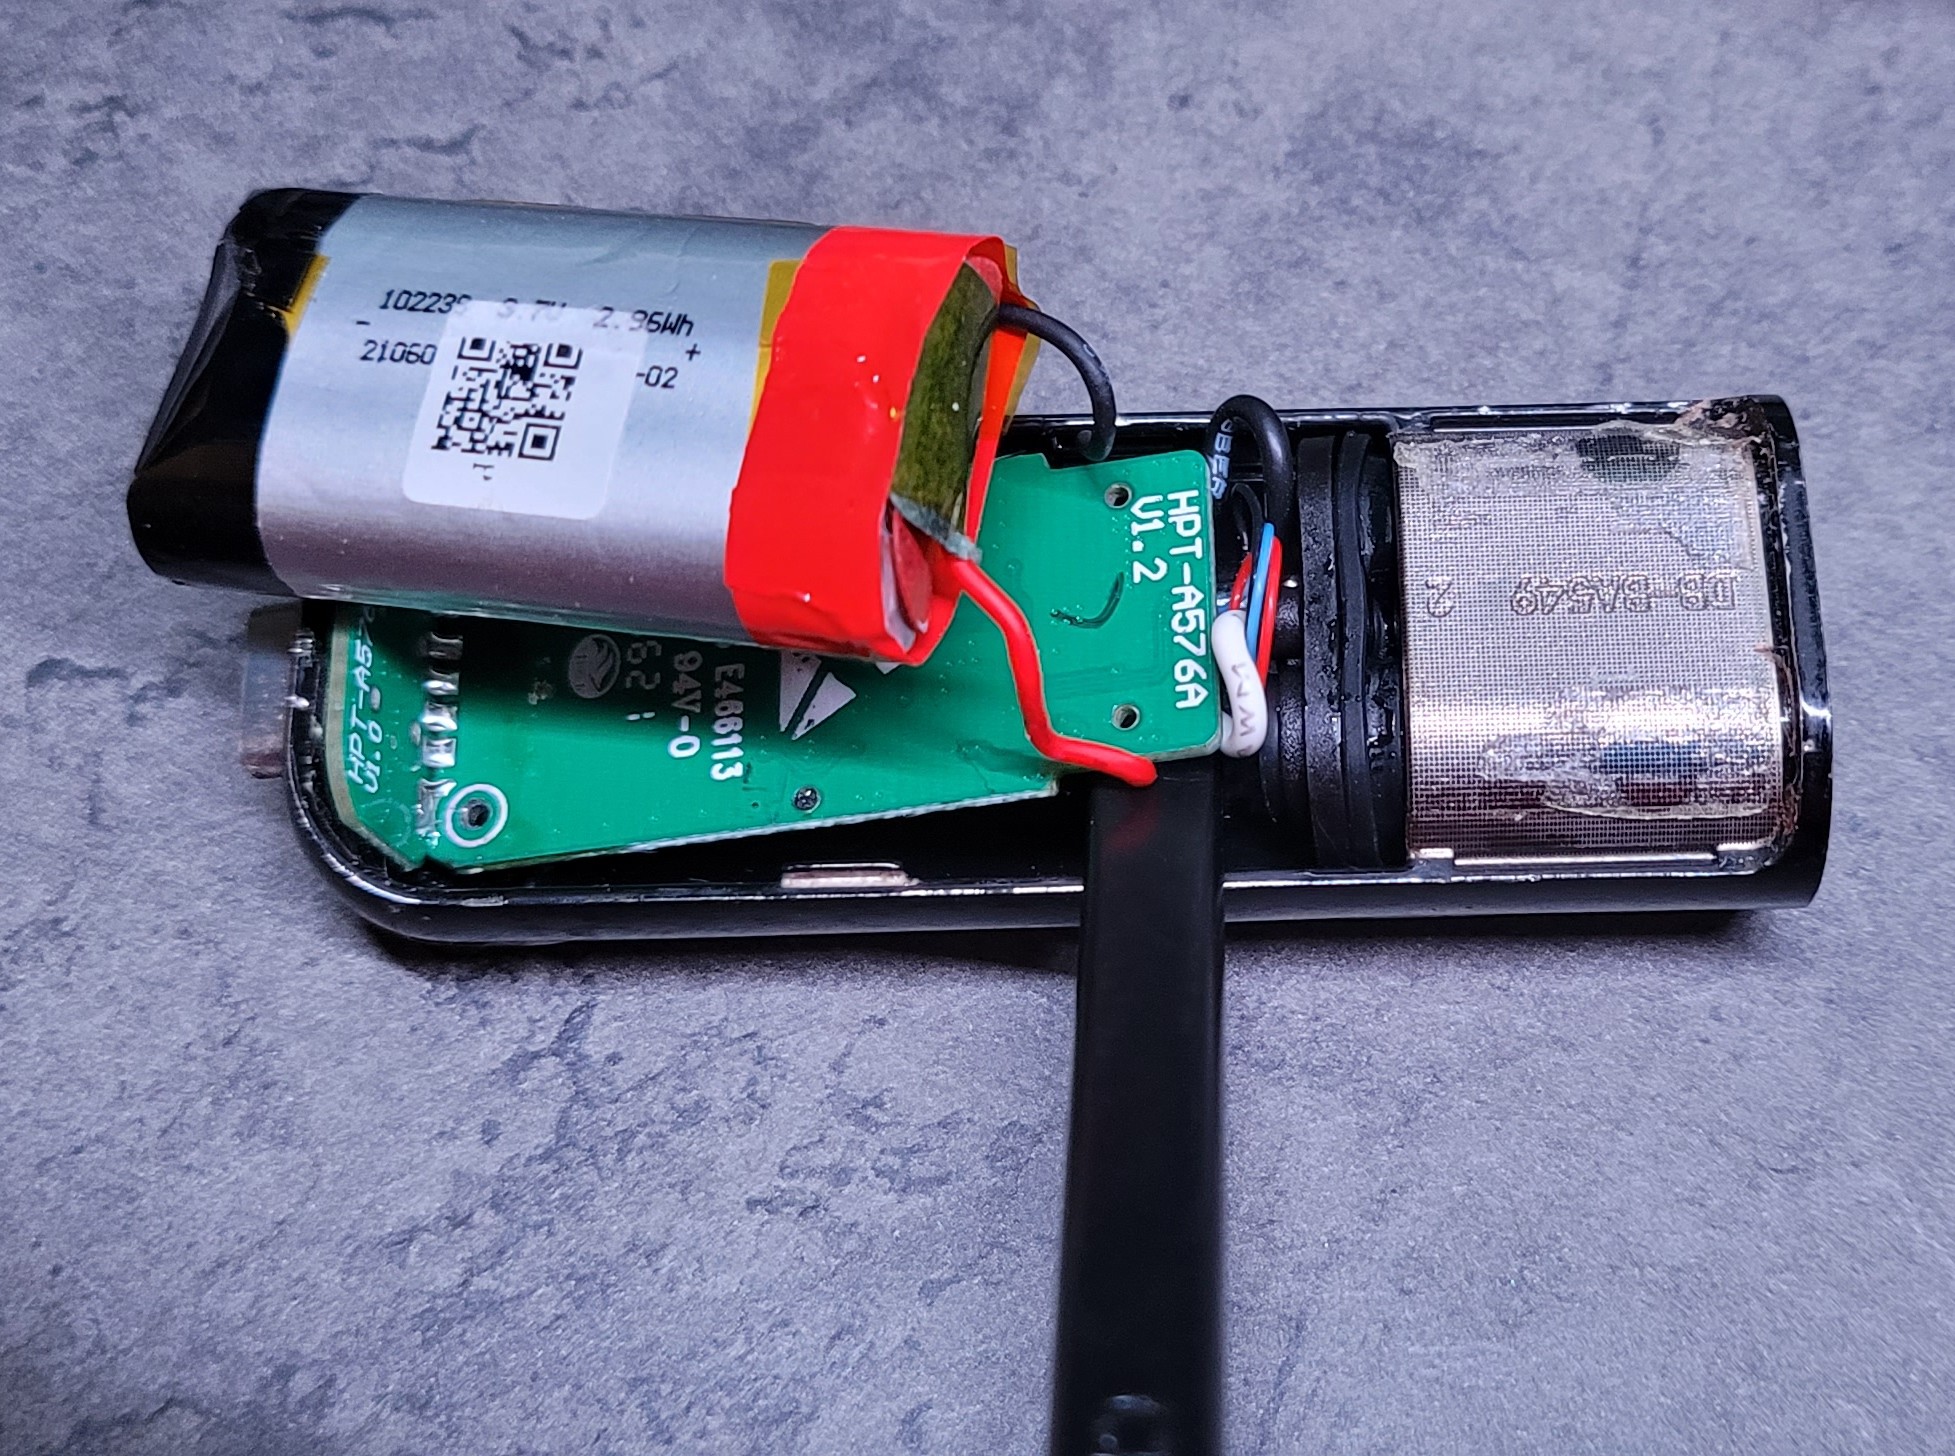
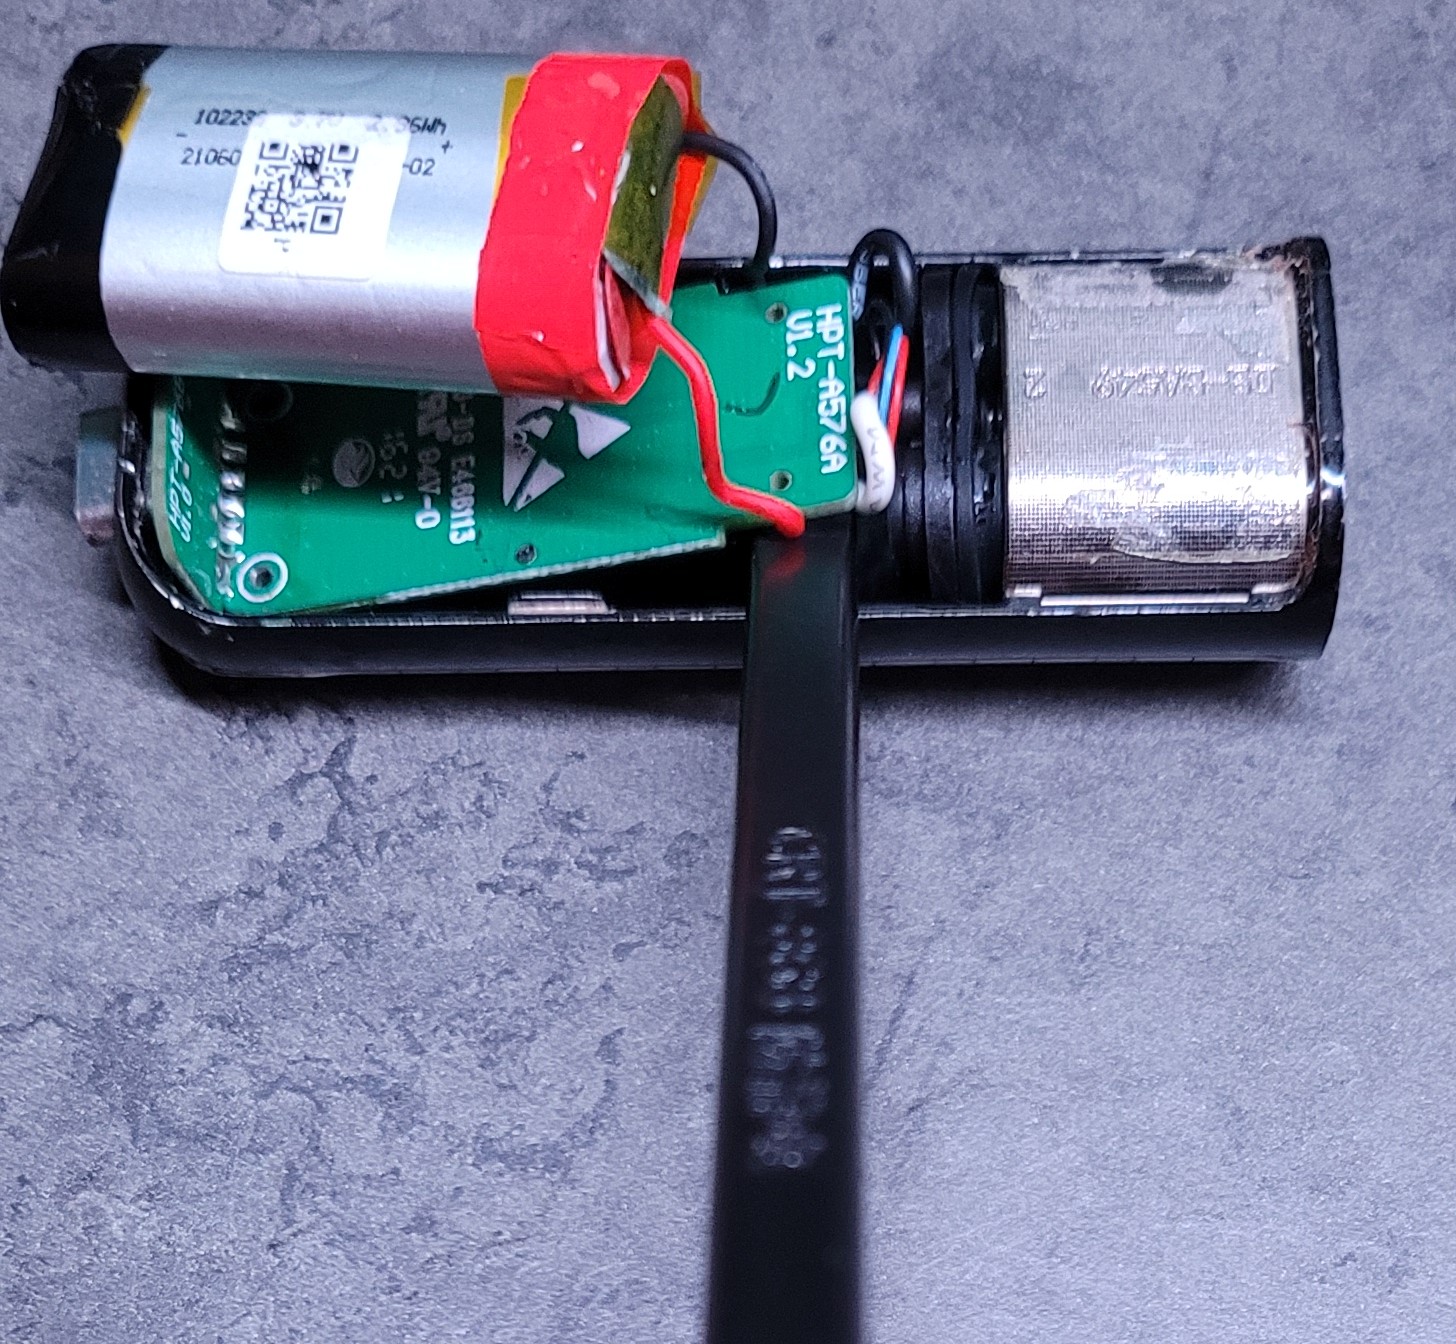
Now for some sketchy parts. You may wish to switch over to the plastic smudger tool at this point, otherwise YOLO it and pray you don’t start a battery fire. Using you smudger, lift the battery from the circuit board. This will expose the 2 tiny phillips head screws near the USB-C charge port; remove those. There are also 2 plastic smashed knobs that go through the board near the middle. I used my smudge to to just break off the parts that were holding the board in place.
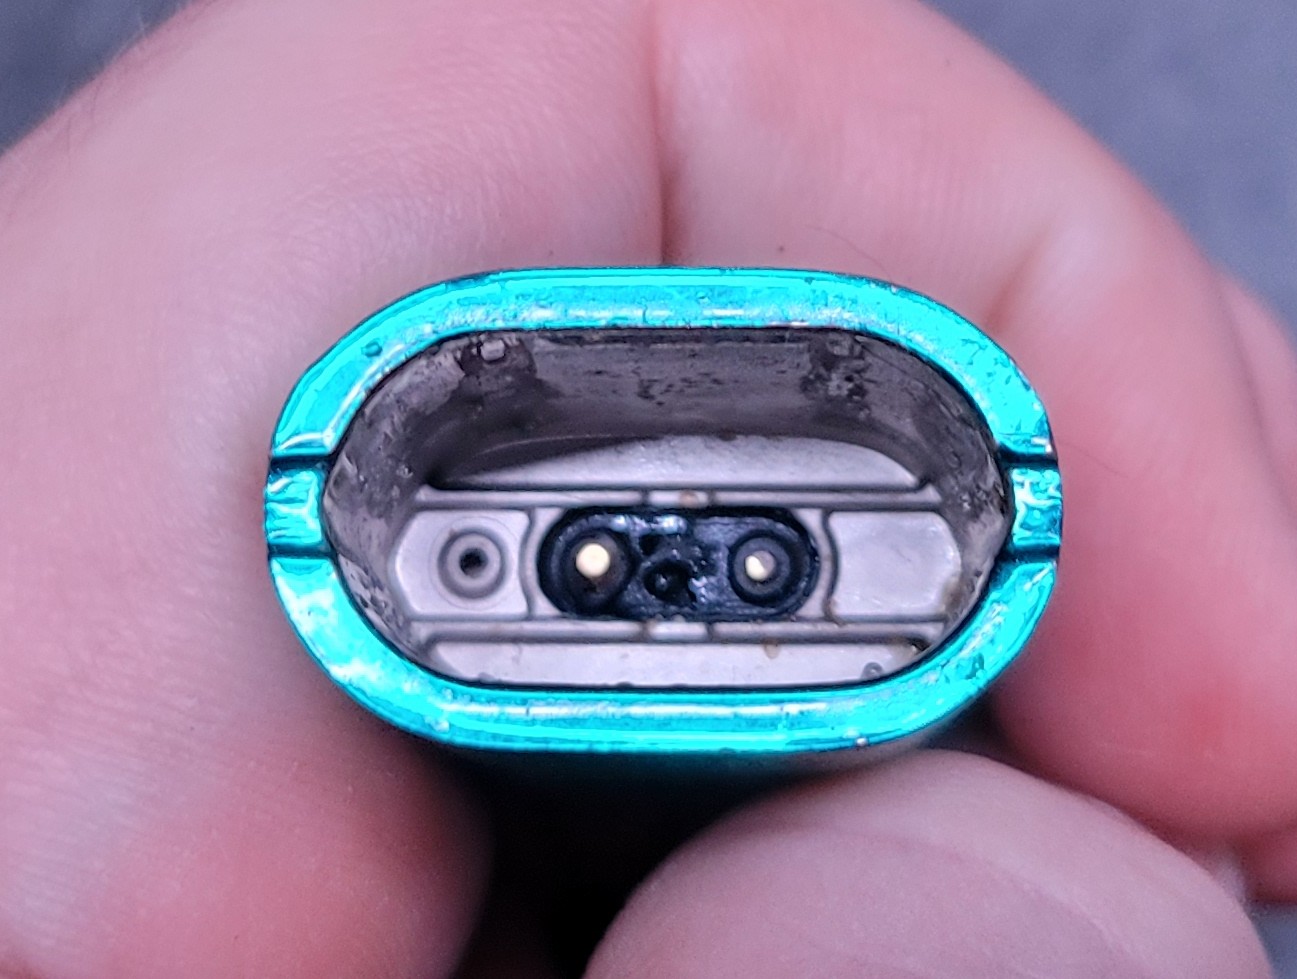
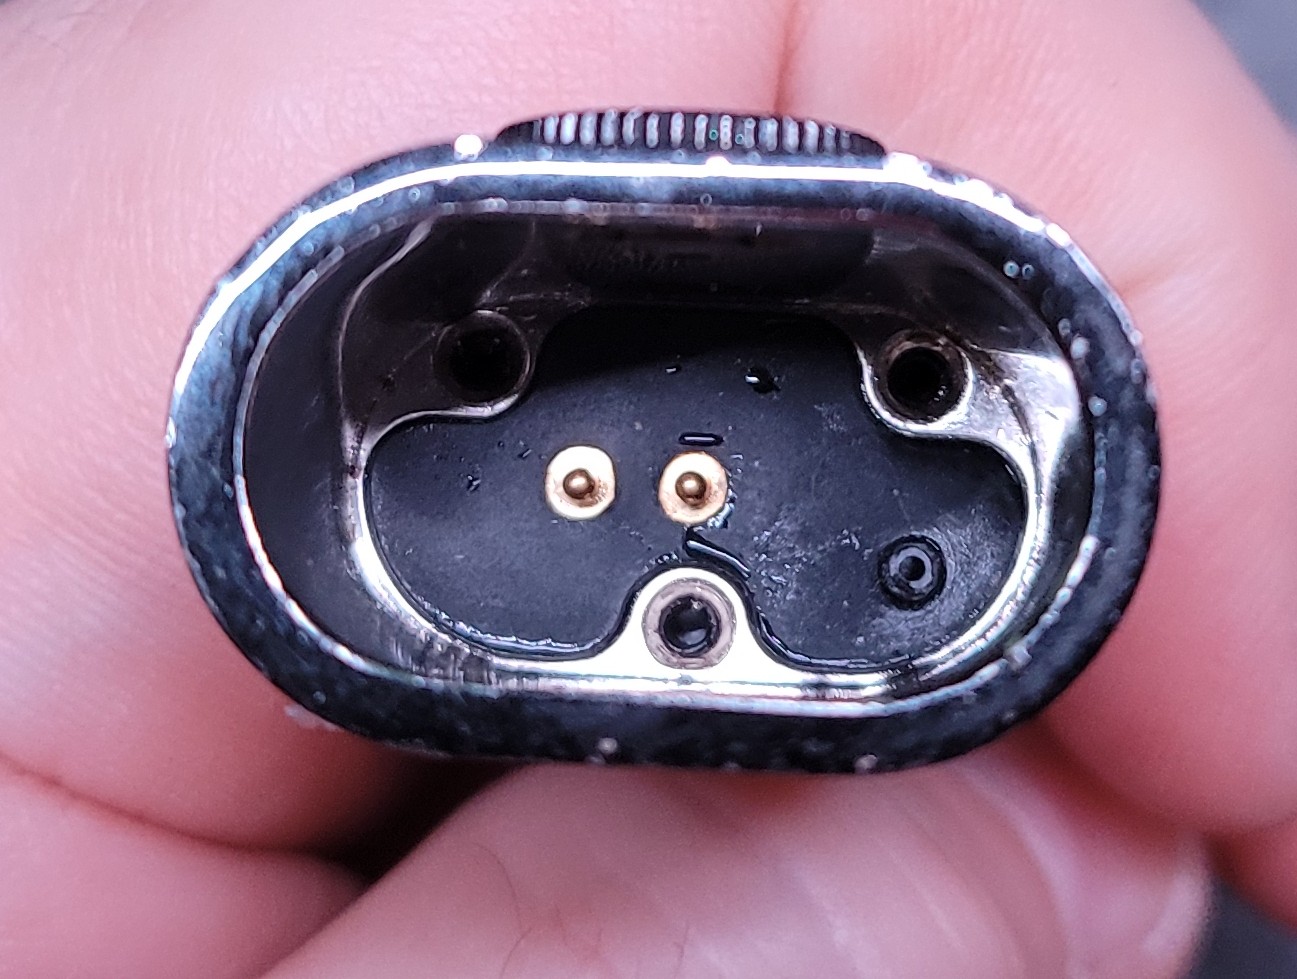
Once the board is unscrewed you can now remove it. This is where the t7 torx driver comes in to play. Remove the pod from the device if you have not already done so and remove the 3 torx screws from inside. That will release the contact points from the device. This is necessary to completely remove the board.
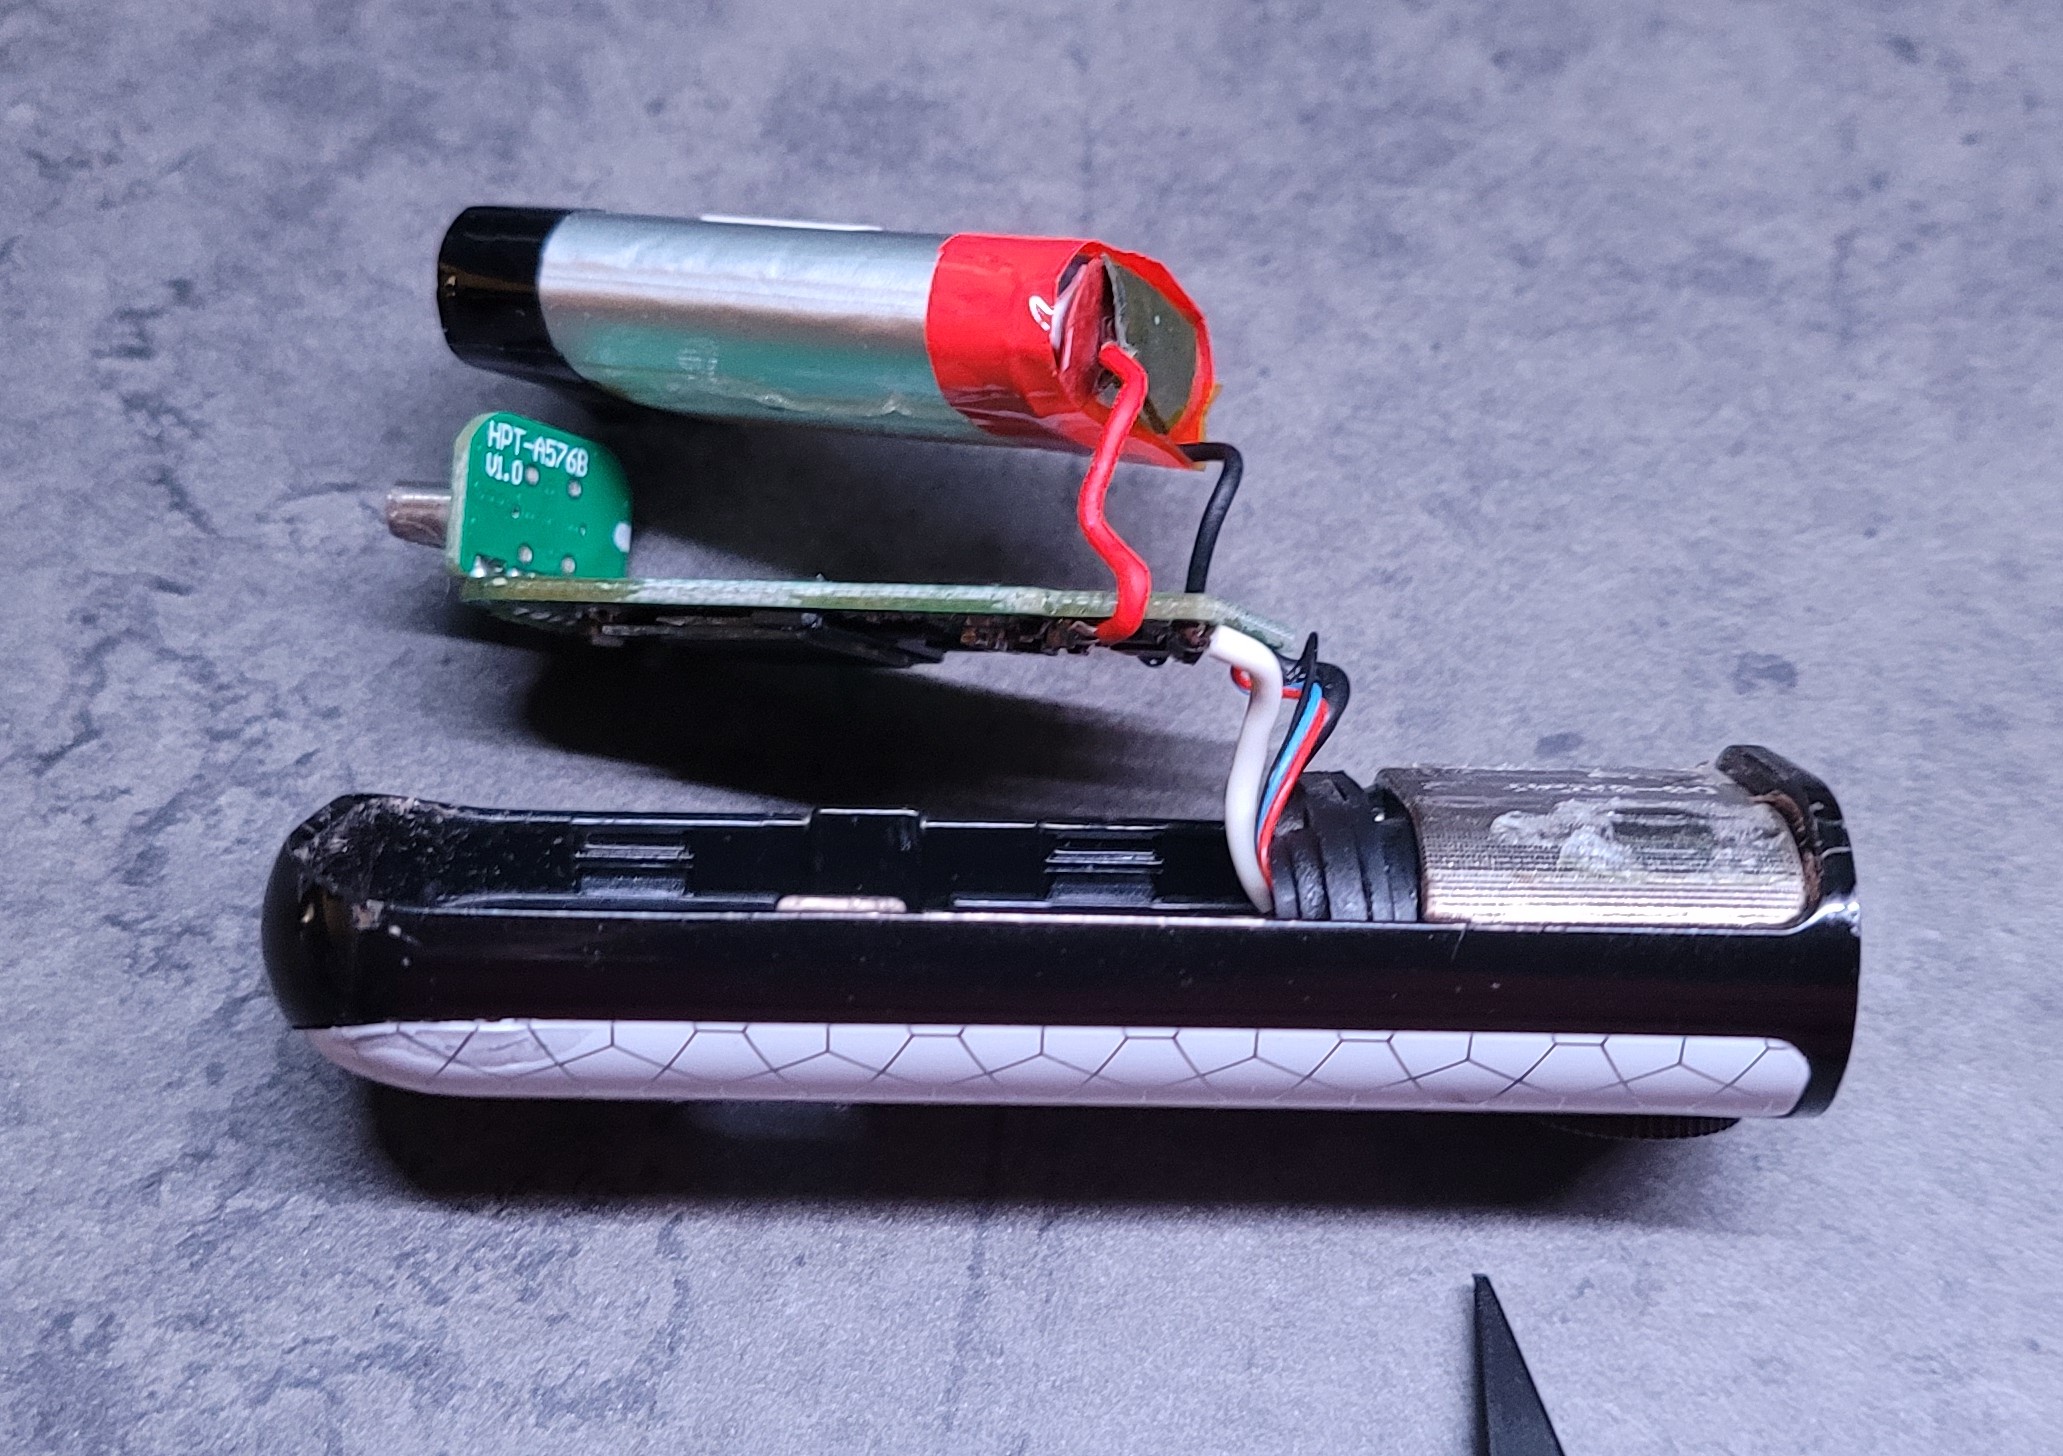
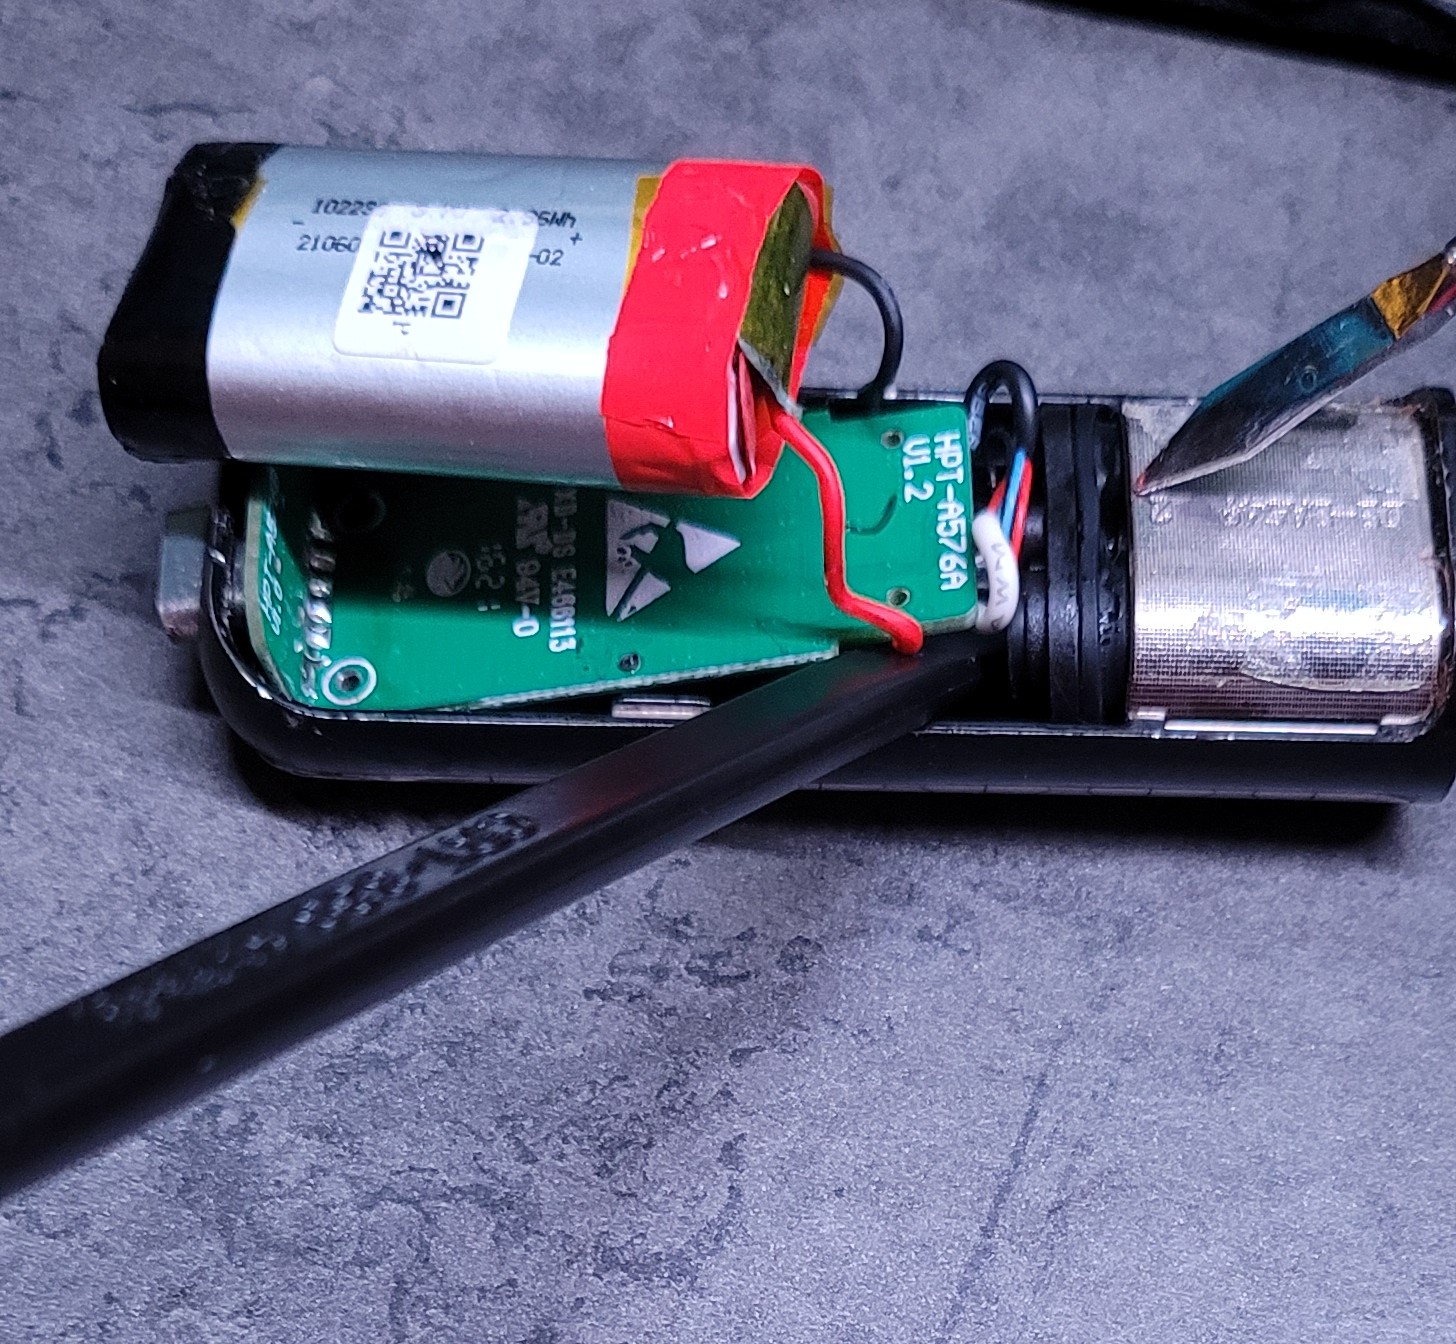
You will now want to push the USB-C through the charge port, as the picture below. This will allow for you to lift the board out of the device, careful of the wires. As you lift, you want to separate the pod contacts that you previously unscrewed.
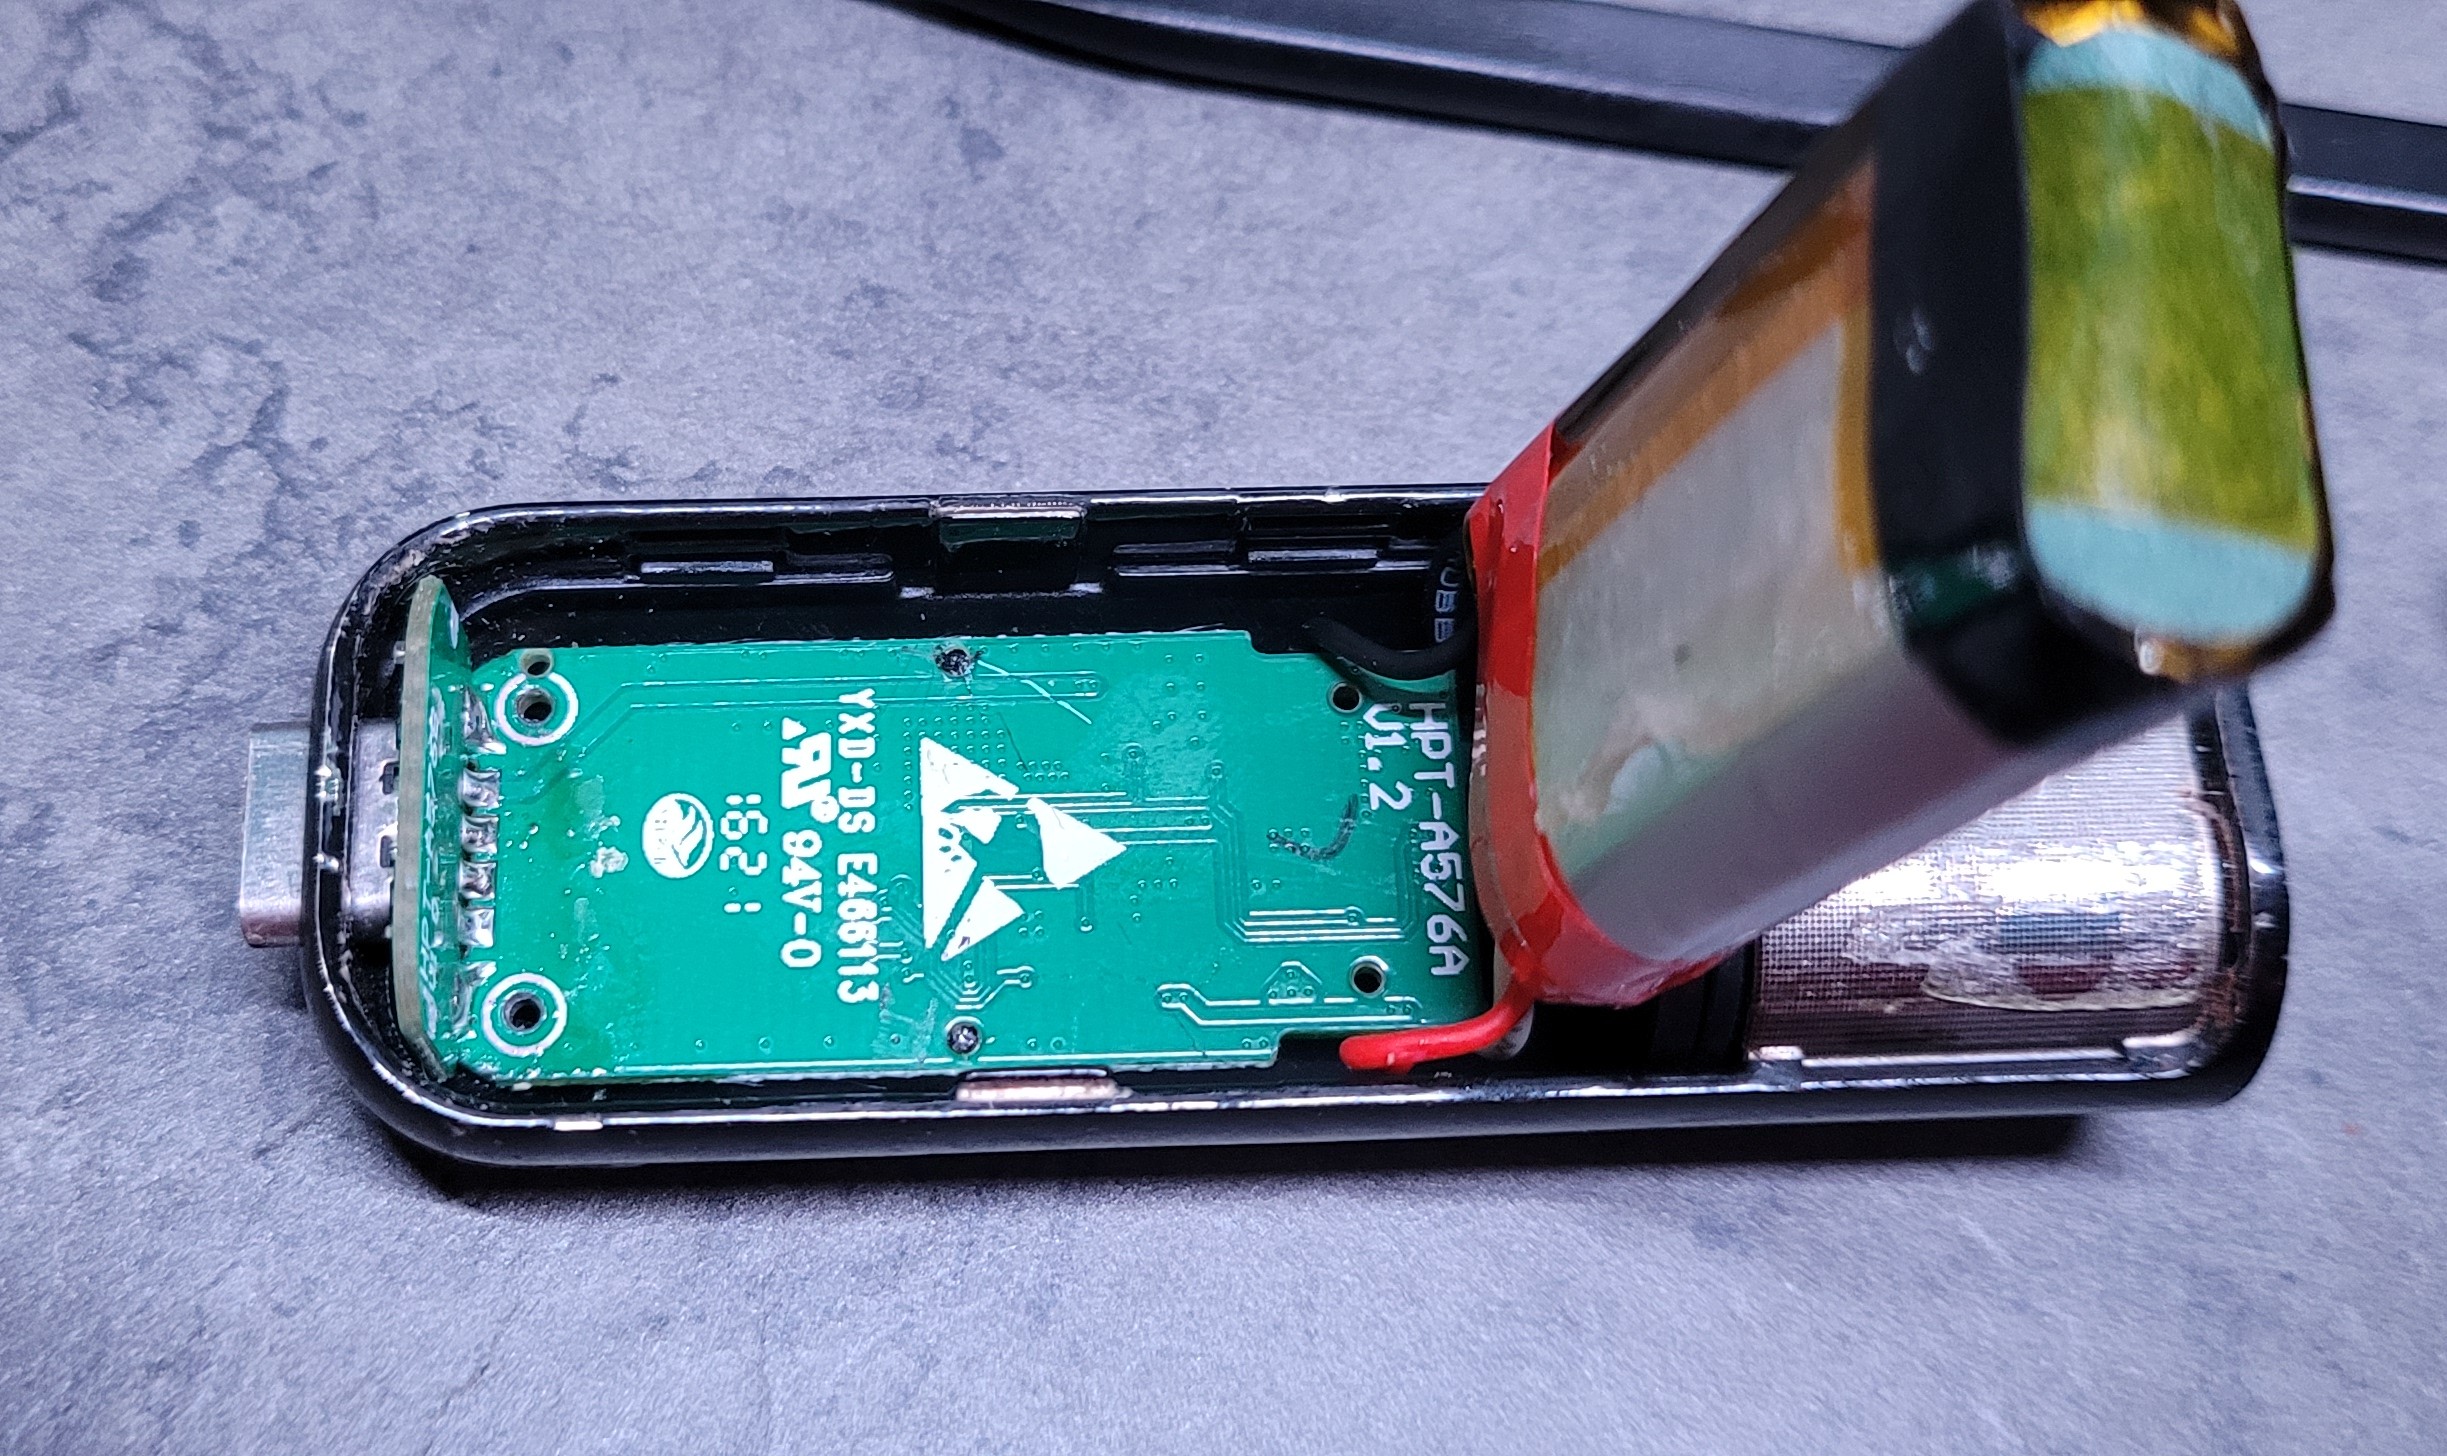
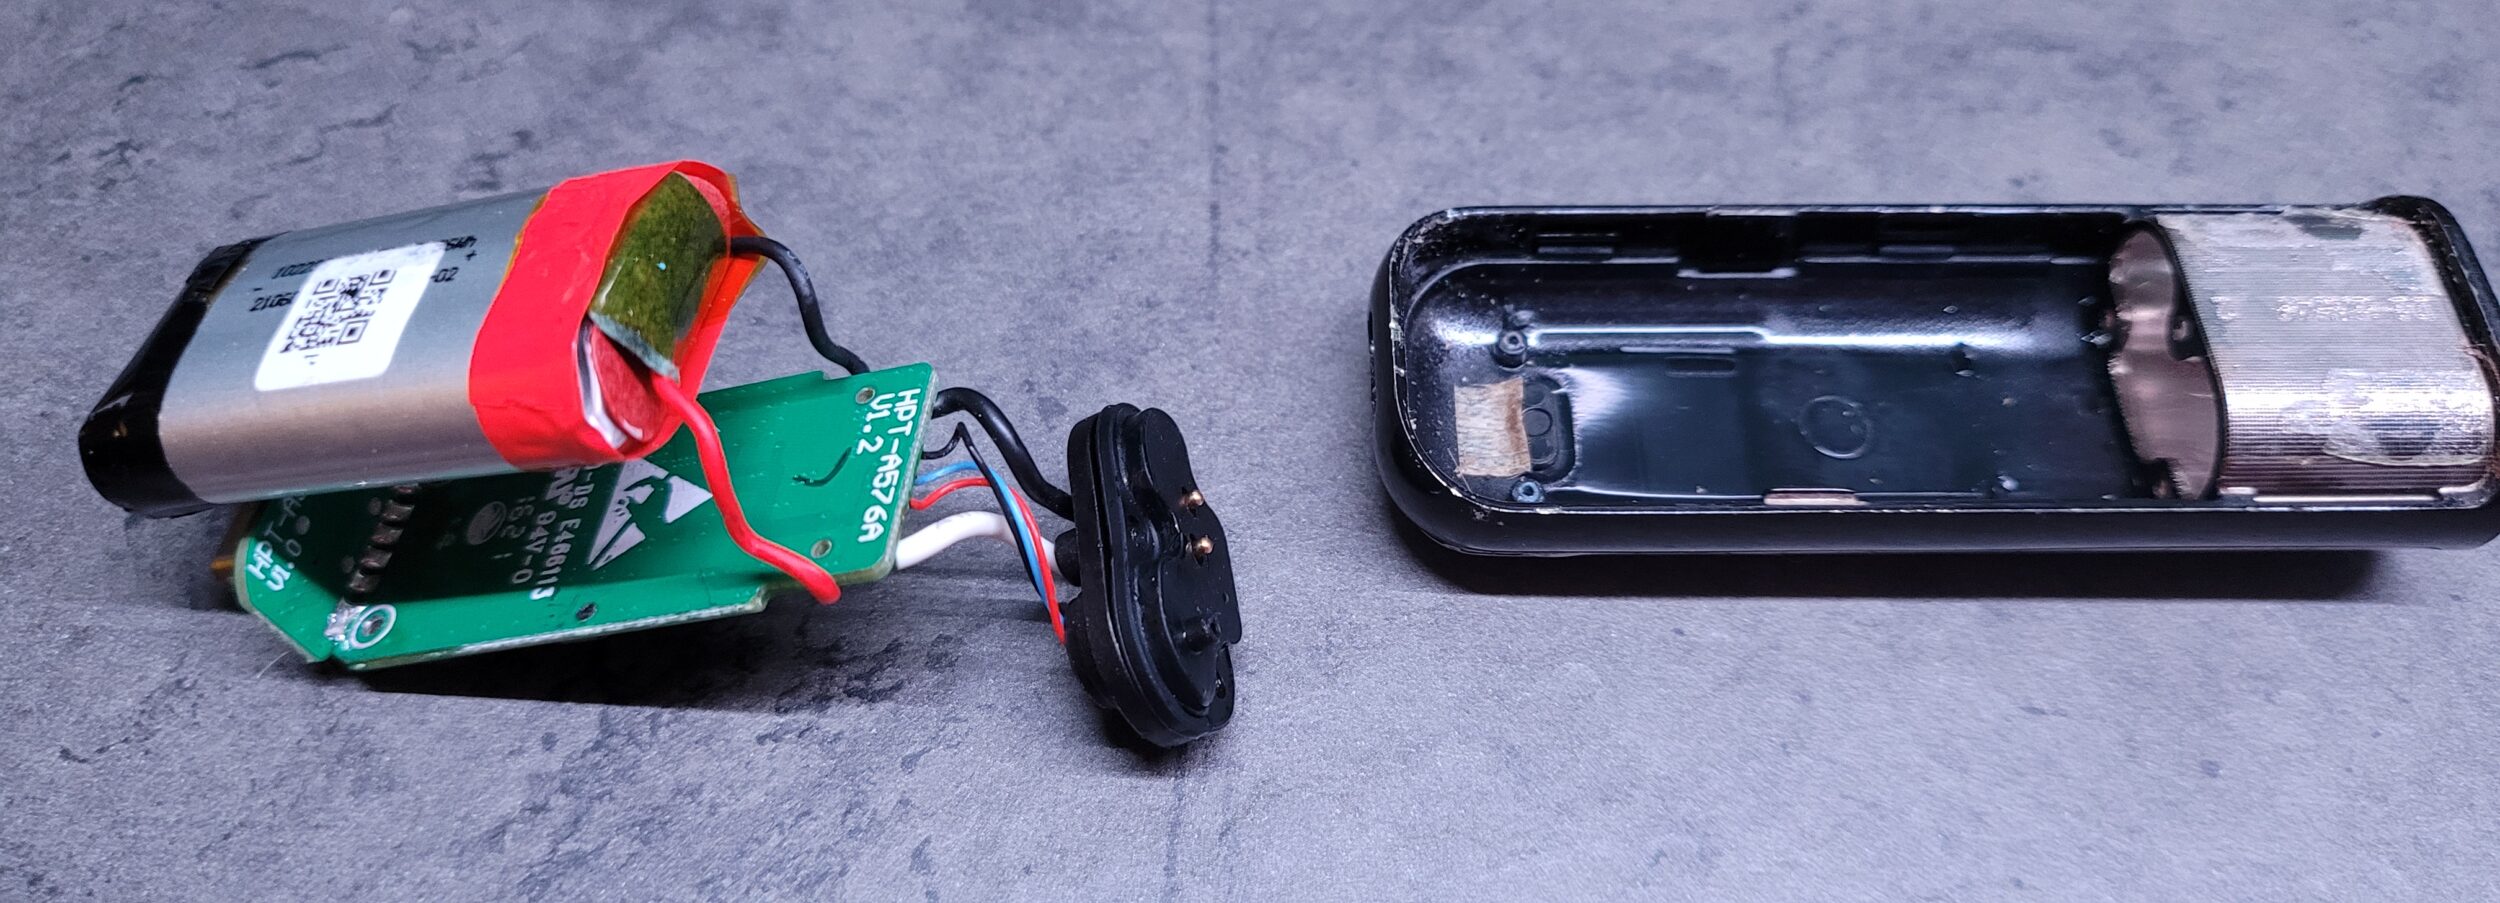
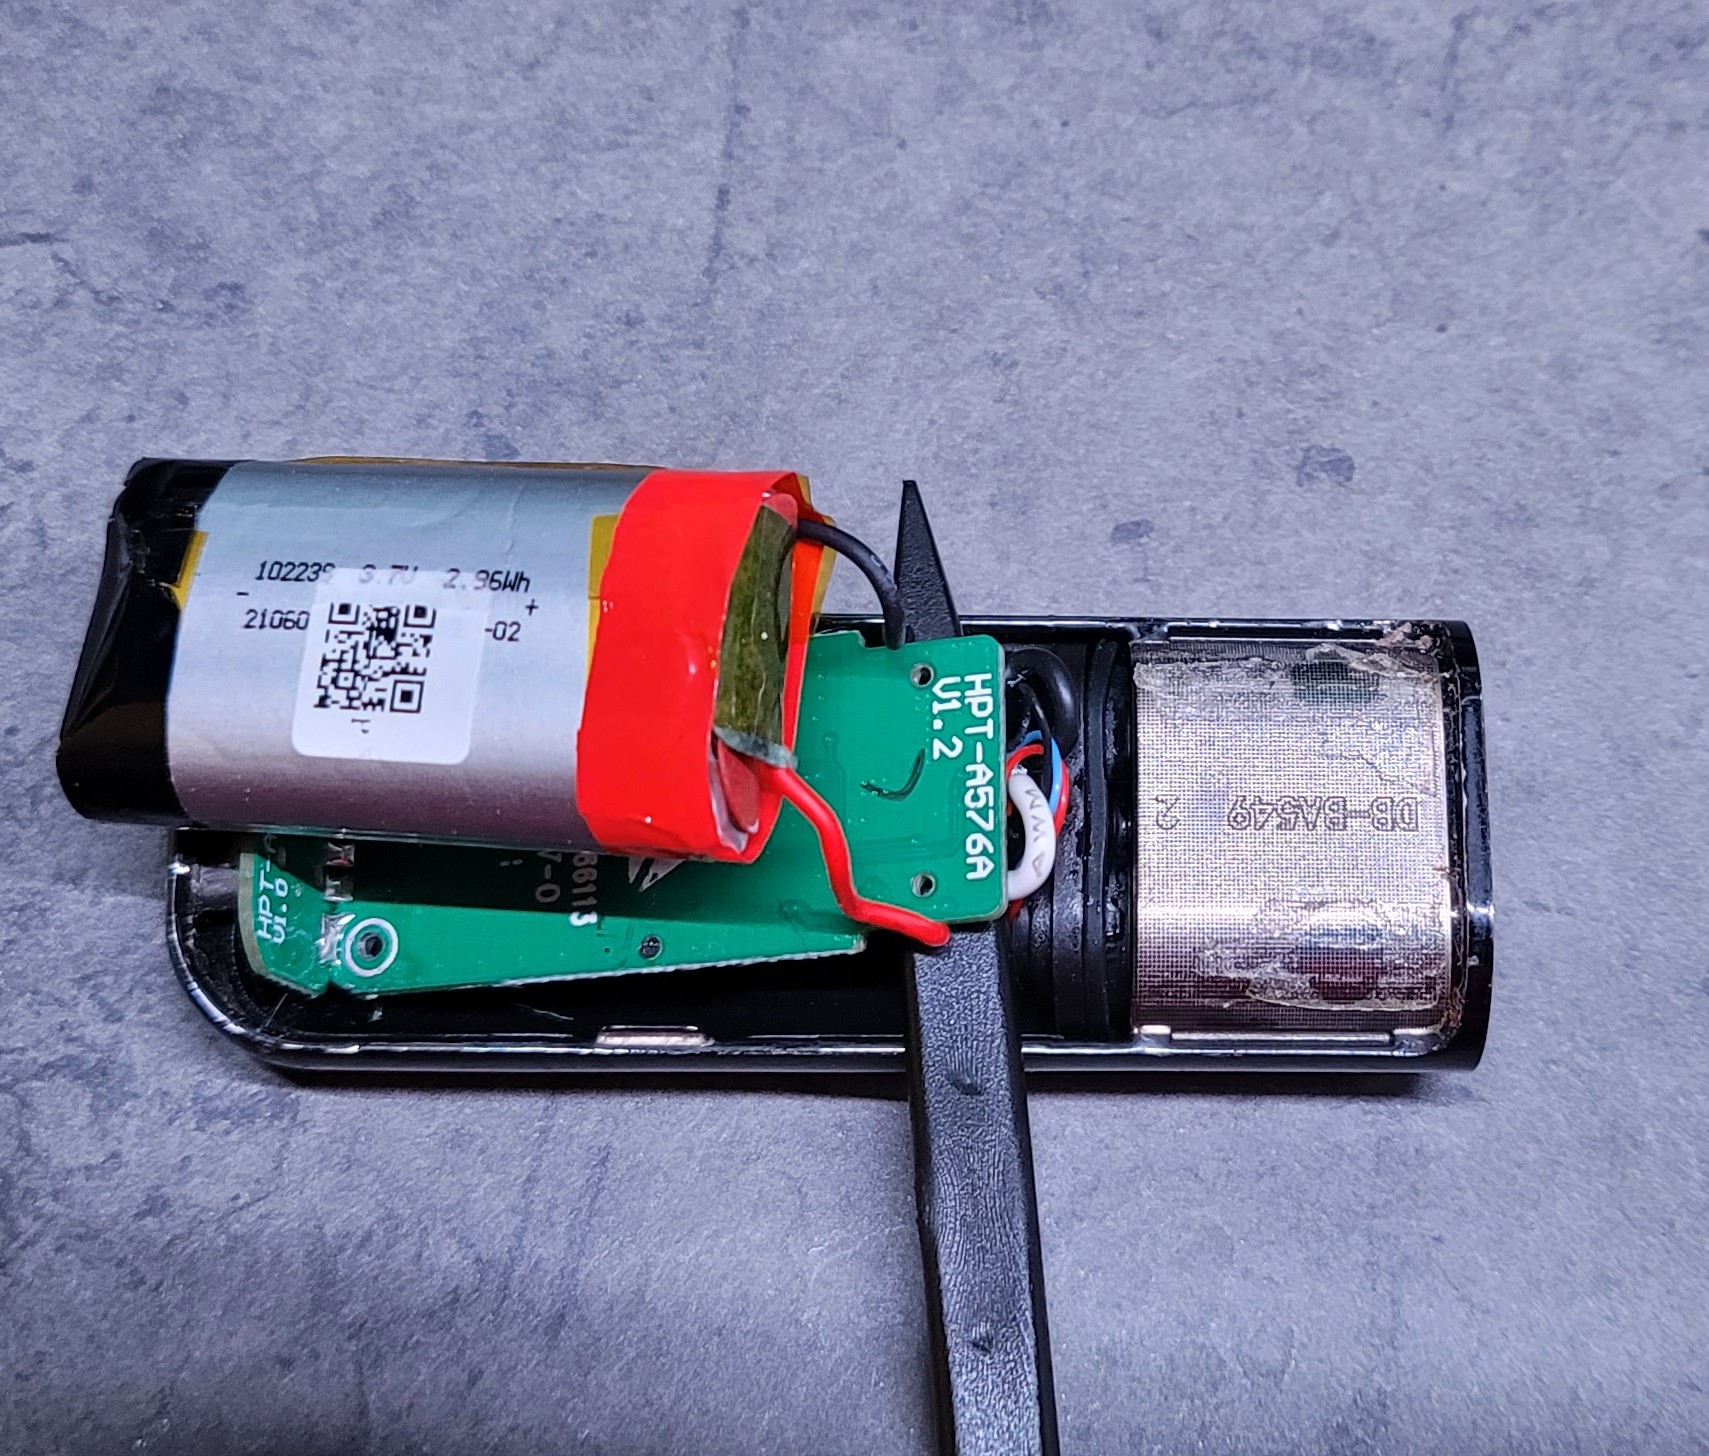
Now using the smudge tool, lift the board near the top until you can get the smudger across it making a bridge to rest the board on. Now you can simply pull the board out with some finessing. As you lift it up and out you may need to slightly finess the contact heads rubber surrounding area. I just used the smudge to push it back away from the metal housing while using another to lift it up and out.

Now that you have it disassembled, you can repair charge contact points (common issue with the older micro-usb Novo2/3). On the older models (2/3) I’ve had to solder both ends of the wires- at the board and at the separate charge connector board. I believe I used some small gauge bodge wire to fix one at one point as well. Unfortunately for this Novo 4, there is no easy repair- the “button” that turns it on/off is dead. I could solder a switch inline or find a replacement online for the button and do some reflow surgery- however I am not so inclined.